Alphabet Tracing Worksheets A–Z: 26 Free Printable Pages + Flashcards (PDF)
Teaching the alphabet works best in small, friendly steps: say the letter, trace it, read a picture word, then write it alone. These free printable alphabet tracing worksheets turn that routine into 26 ready-to-print ABC tracing pages for preschool and kindergarten children (ages 3–6) and for older beginners learning the English alphabet.
Each page has dotted uppercase and lowercase letters to trace, a picture word, and a ruled row for independent writing. The free PDF also includes 26 cut-out alphabet flashcards and a short parent and teacher guide.
Need only one letter? Jump to the single-letter pages.
At a Glance
| Age | 3–6 years, and older beginners learning English letters |
| Skills | Letter names, letter sounds, uppercase and lowercase writing, first picture words |
| You need | A printer, a pencil or crayon; card stock and scissors for the flashcards (optional) |
| Session length | 10–15 minutes, two to four letters at a time |
| Cost | Free PDF |
Where to Start: Which Letters First?
You do not have to begin with A. A simple order that works well for most children:
- Letters in the child’s name. They already look familiar and feel meaningful.
- The letters s, a, t, p, i, n. Together they make many short words, such as sat, nap, tin and pin.
- The remaining letters. Go in alphabetical order, or follow the letters in the child’s reading books.
Teach the letter name first, then the sound. For example: “This is the letter B. Its sound is /b/, like ball.”
What Is Inside the Free Alphabet Tracing Pack
- Parent and teacher guide: a short guide with practice activities.
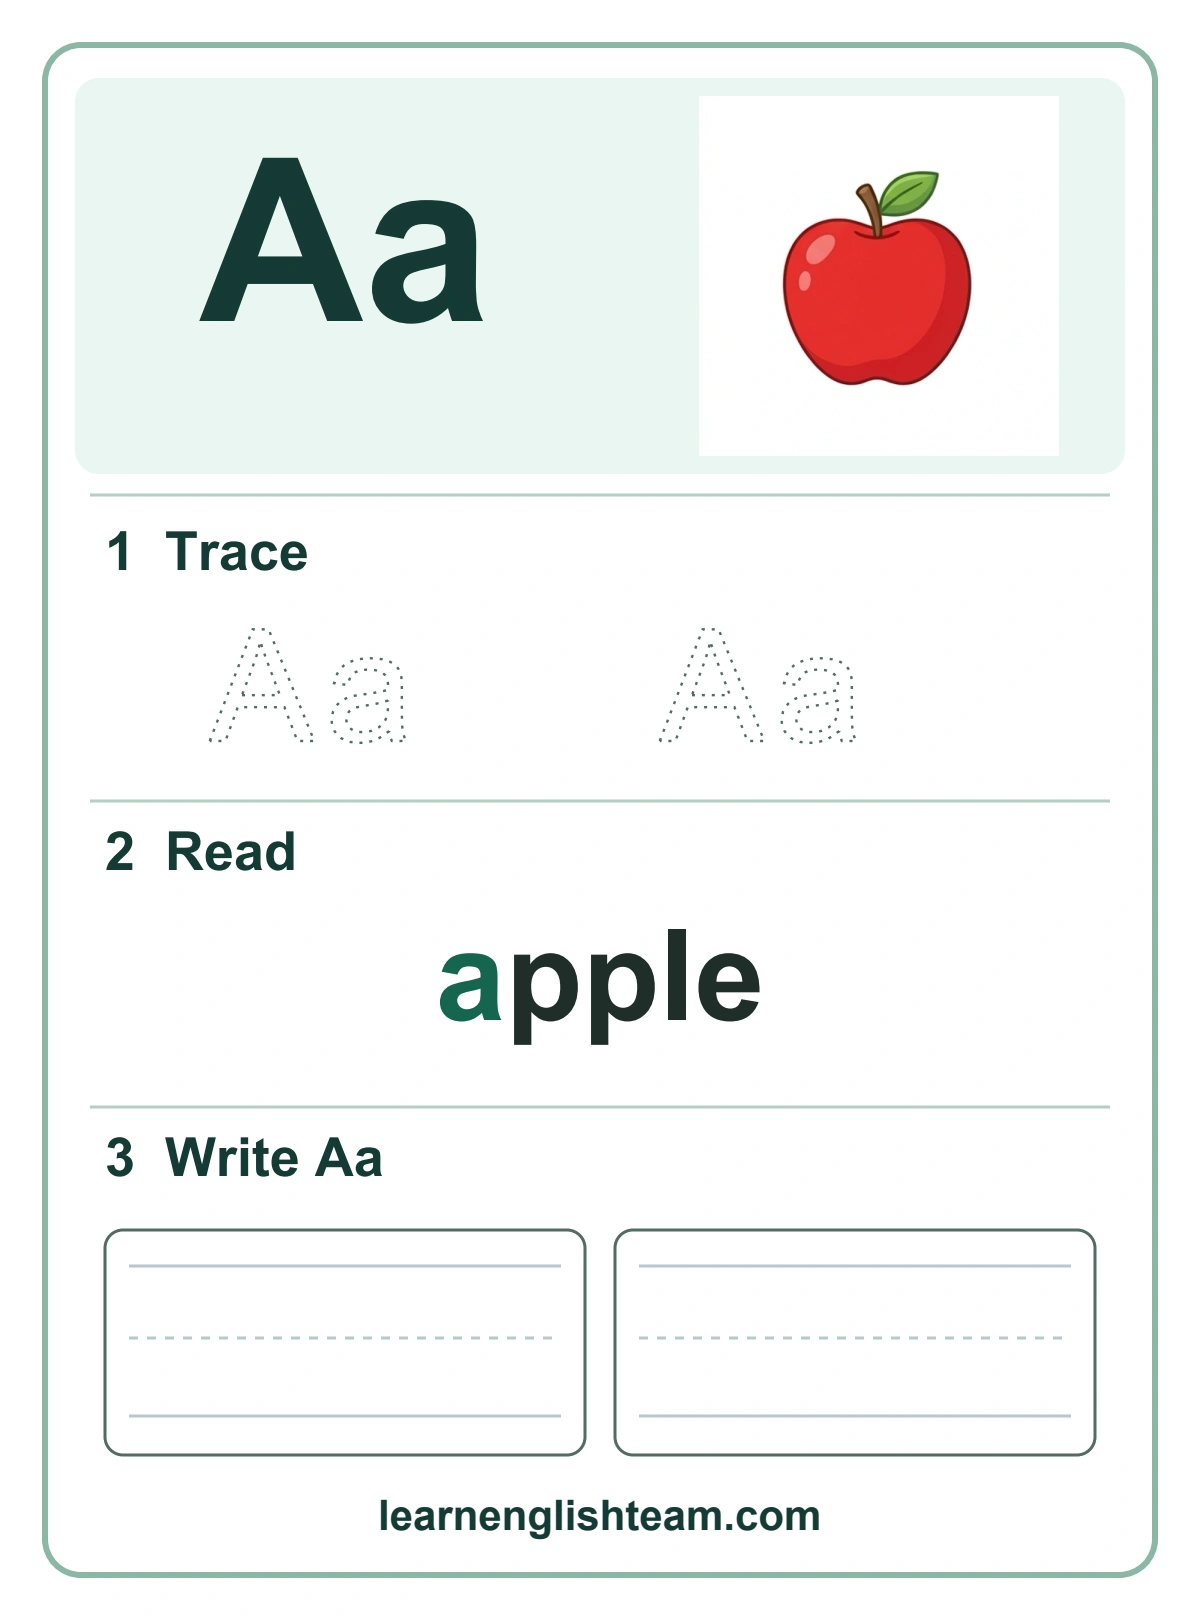
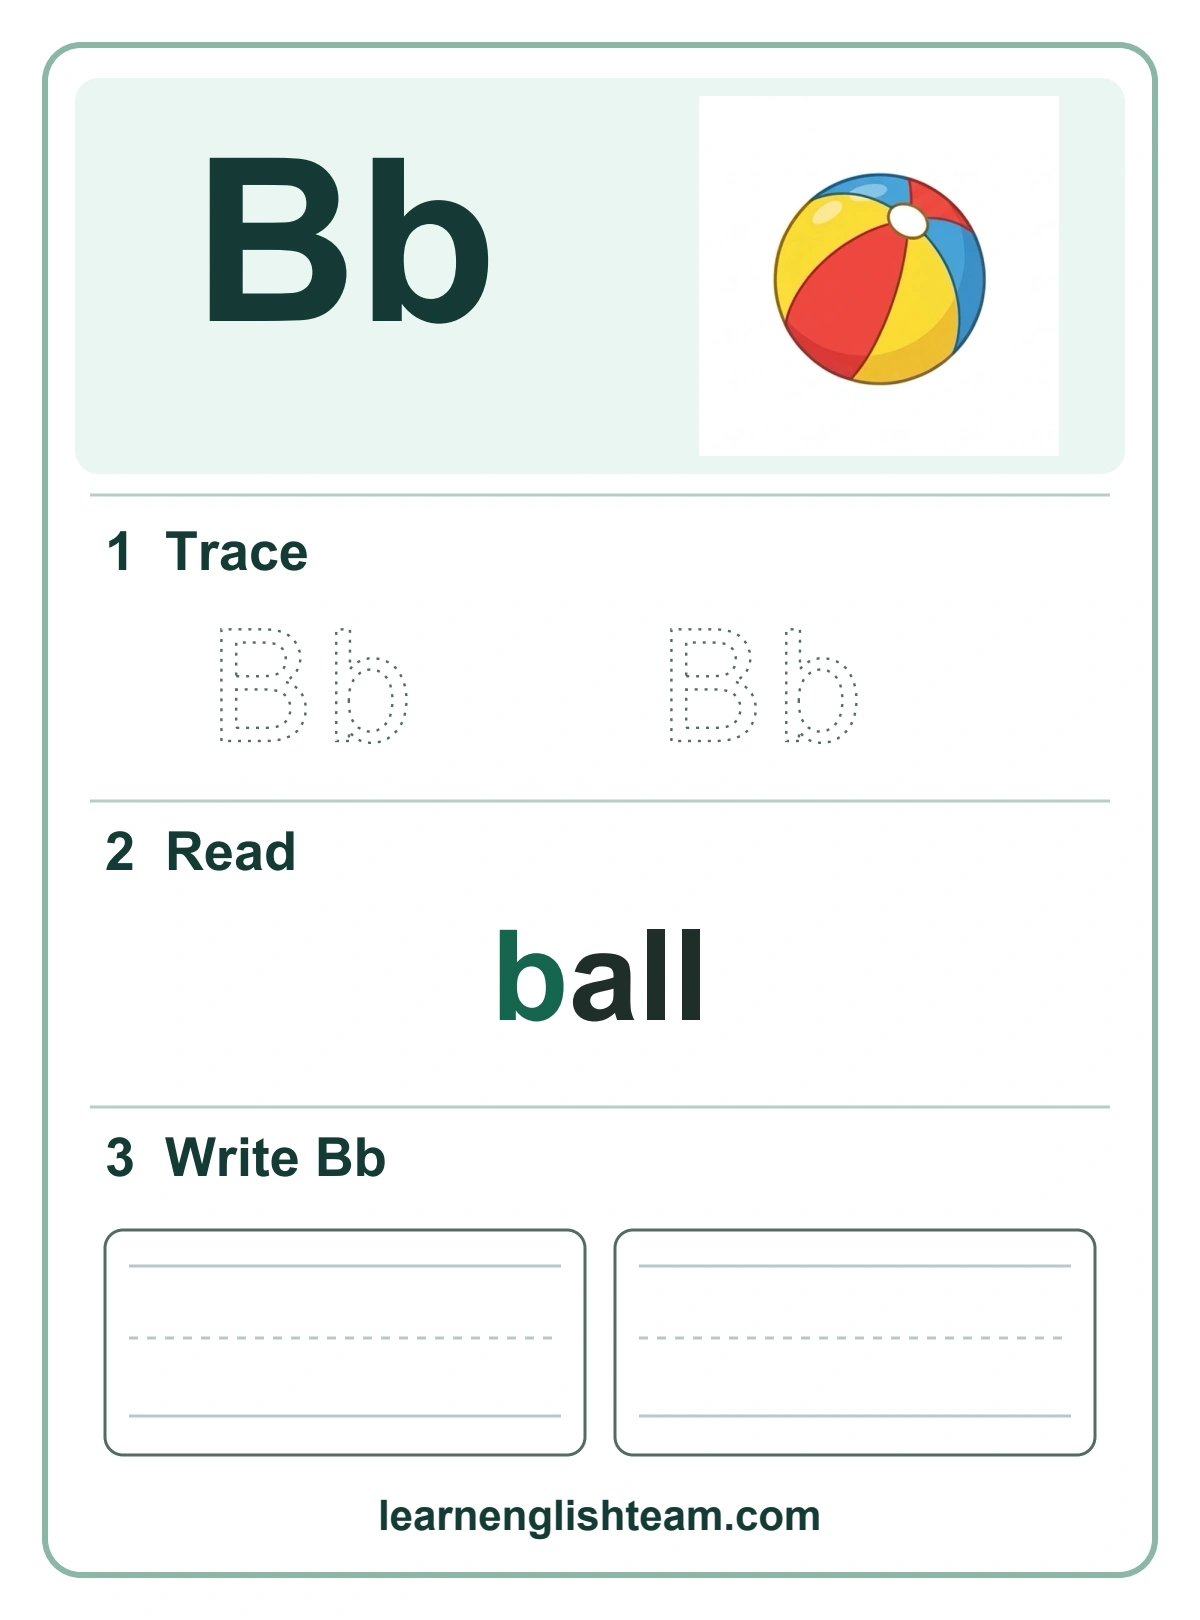
- 26 tracing worksheets: one full page per letter, with a large letter pair, a picture and word, four dotted uppercase letters, four dotted lowercase letters, and a blank ruled row.
- 26 cut-out flashcards on 5 sheets: each card shows the uppercase and lowercase letter, a picture and a word on the same side.
How to Use Alphabet Tracing Worksheets: Say, Trace, Read, Write
Follow these four steps with one letter at a time.
- Say: Point to the letter and say its name. Then say the sound used in the picture word. For A, use the short a sound in apple.
- Trace: Show how to form the uppercase and lowercase letter, then let the child trace the dotted outlines.
- Read: Look at the picture and read the word together. Ask the child to point to the target letter in the word.
- Write: Let the child write the uppercase and lowercase letters on the blank ruled row. Help when needed.
Example: “This is the letter B. Its sound is /b/, like ball. Now trace the B with your finger. Good! The word is ball. Can you write B by yourself?”

Printing Tips for the Worksheets and Flashcards
- Paper size: Print on A4 at actual size. On US Letter, choose “Fit to page.”
- Worksheets: Place a page in a clear plastic sleeve and use a dry-erase marker for repeated practice.
- Flashcards: Print the five card sheets on card stock if you can. An adult cuts along the dashed lines.
- Storage: Keep the cards in a small bag or box, and use a few familiar cards at a time before adding more.
Alphabet Chart: Letters, Sounds and Picture Words (A–Z)
This chart shows every letter with its picture word and sound. Each picture word starts with its letter, except X (see the note below).
| Letters | Picture word | Sound |
|---|---|---|
| Aa | apple | /a/ (short a) |
| Bb | ball | /b/ |
| Cc | cat | /k/ |
| Dd | duck | /d/ |
| Ee | egg | /e/ (short e) |
| Ff | fish | /f/ |
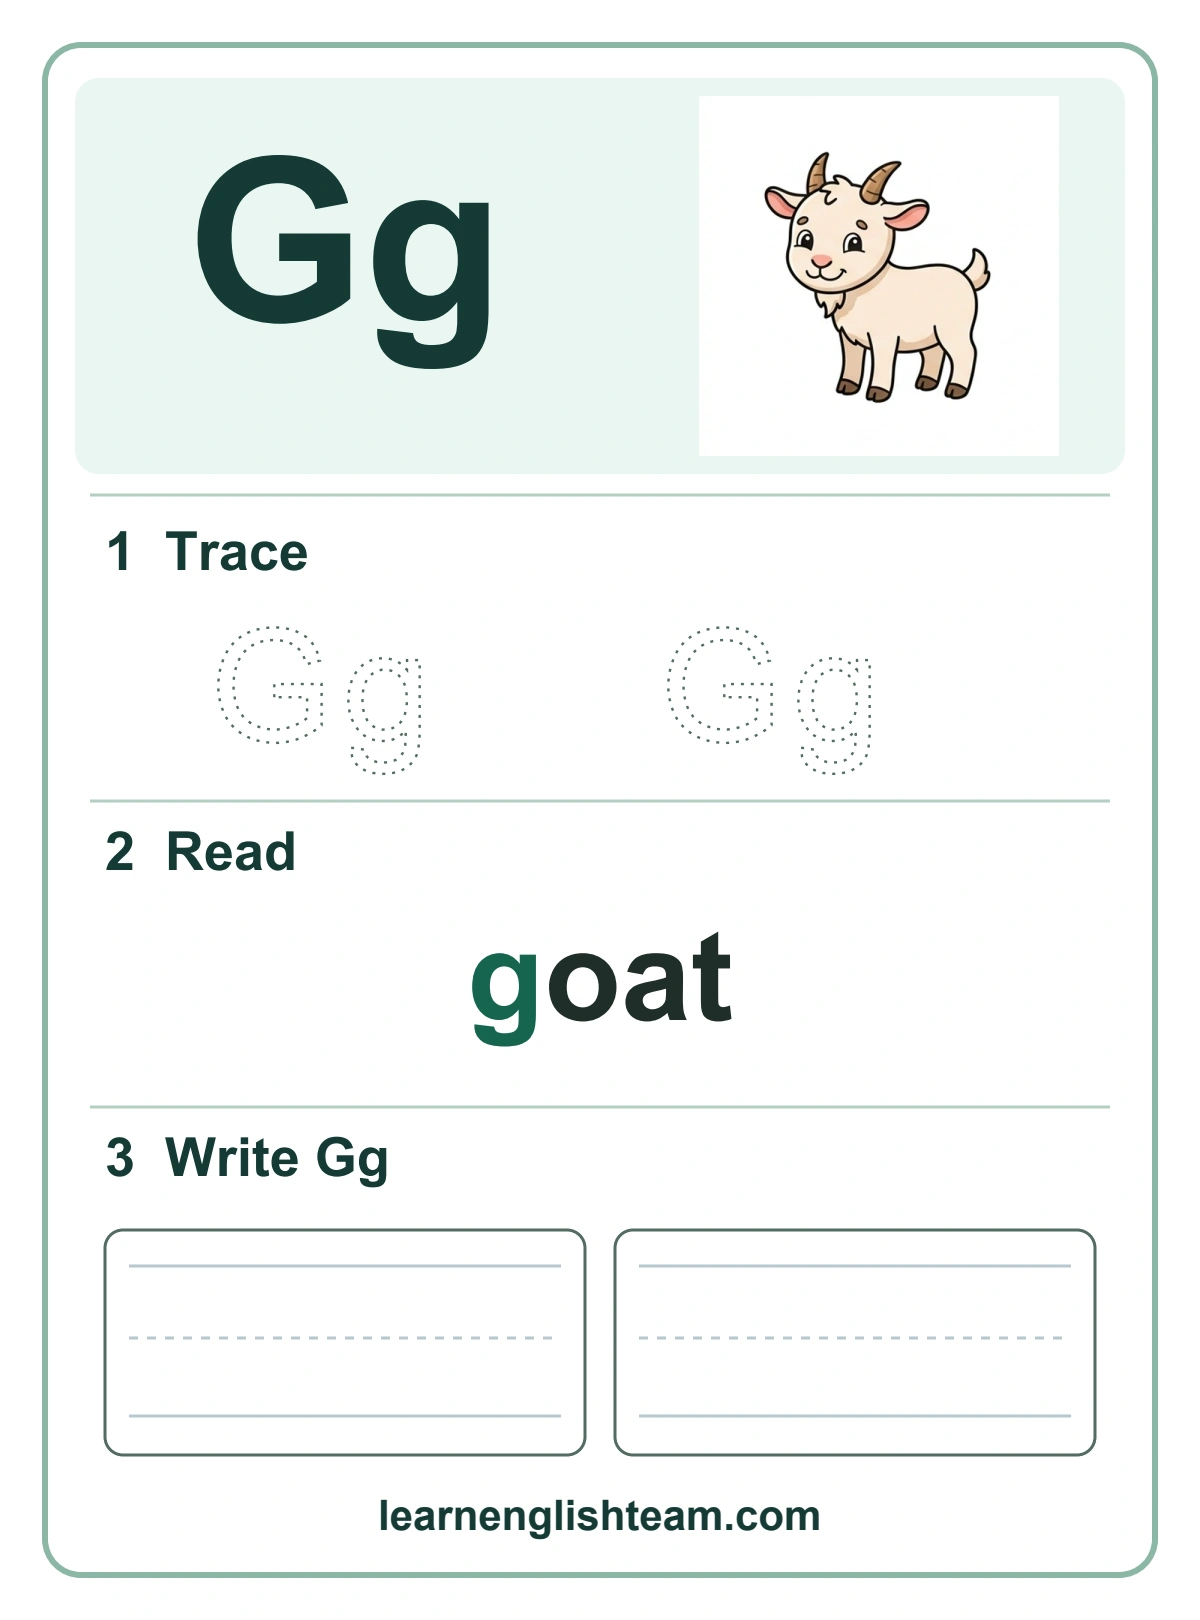
| Gg | goat | /g/ |
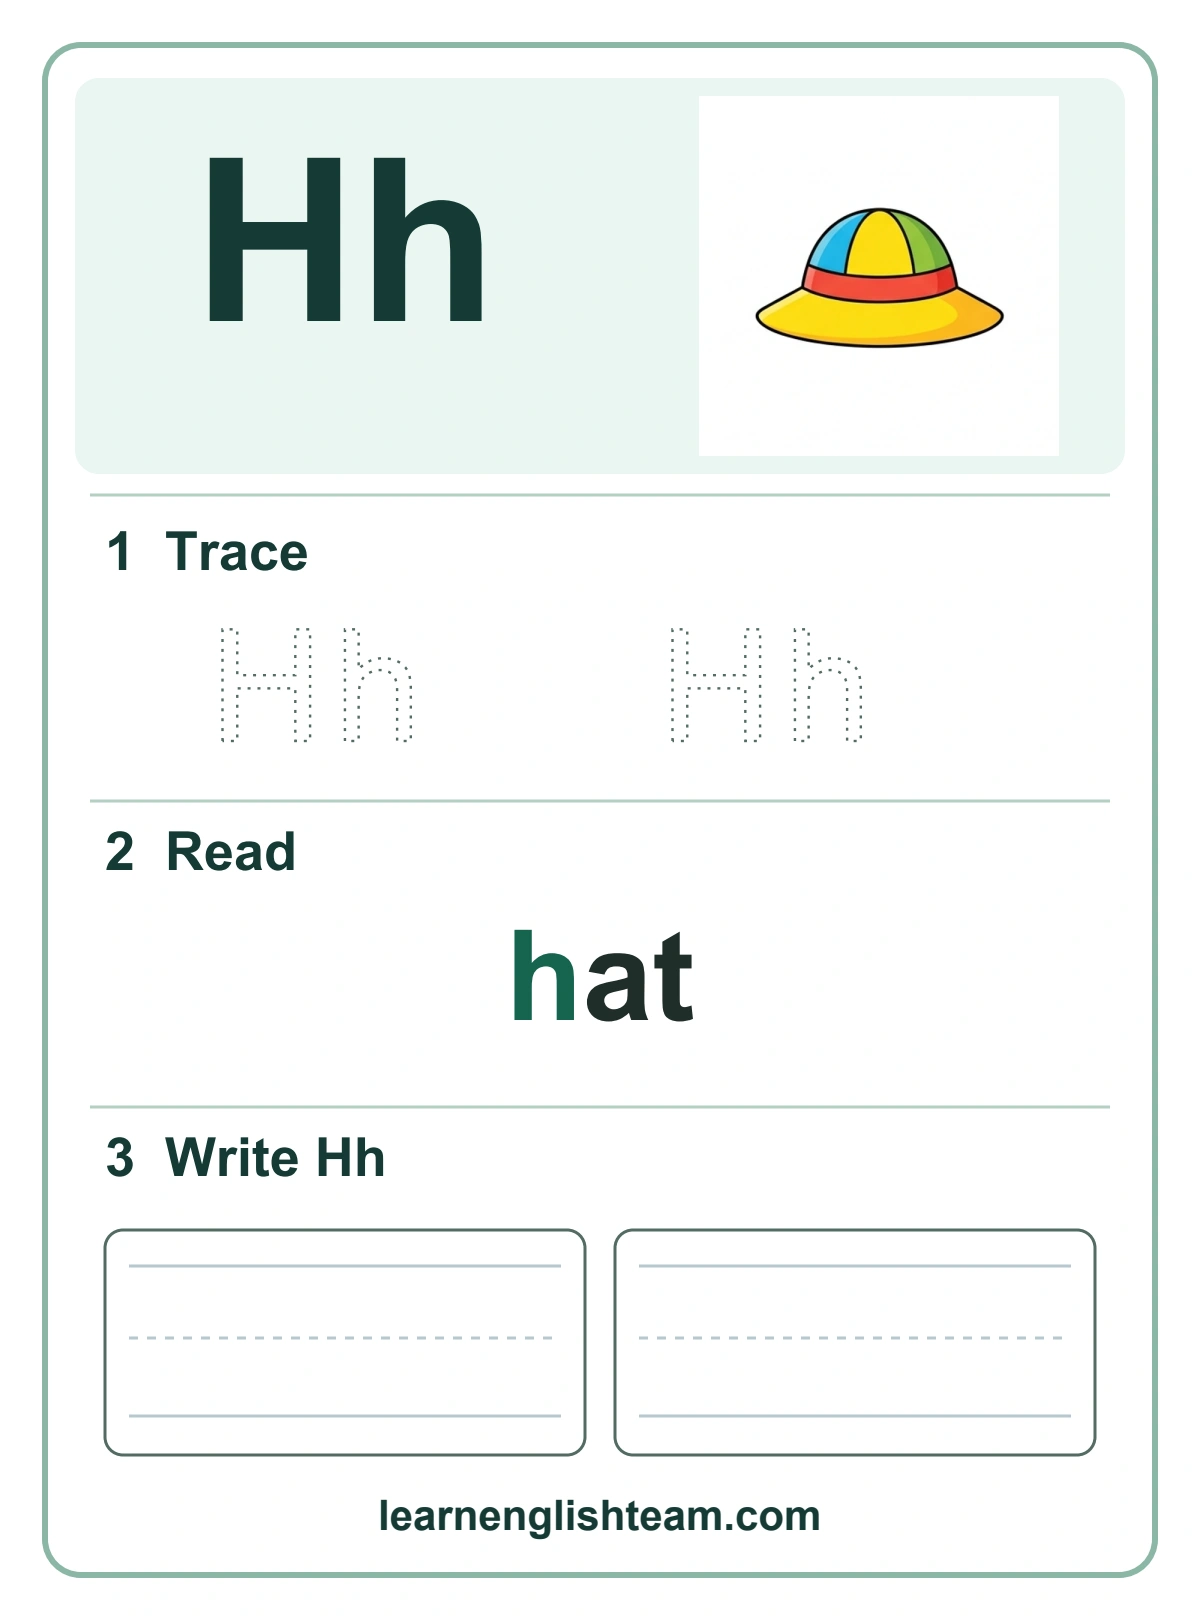
| Hh | hat | /h/ |
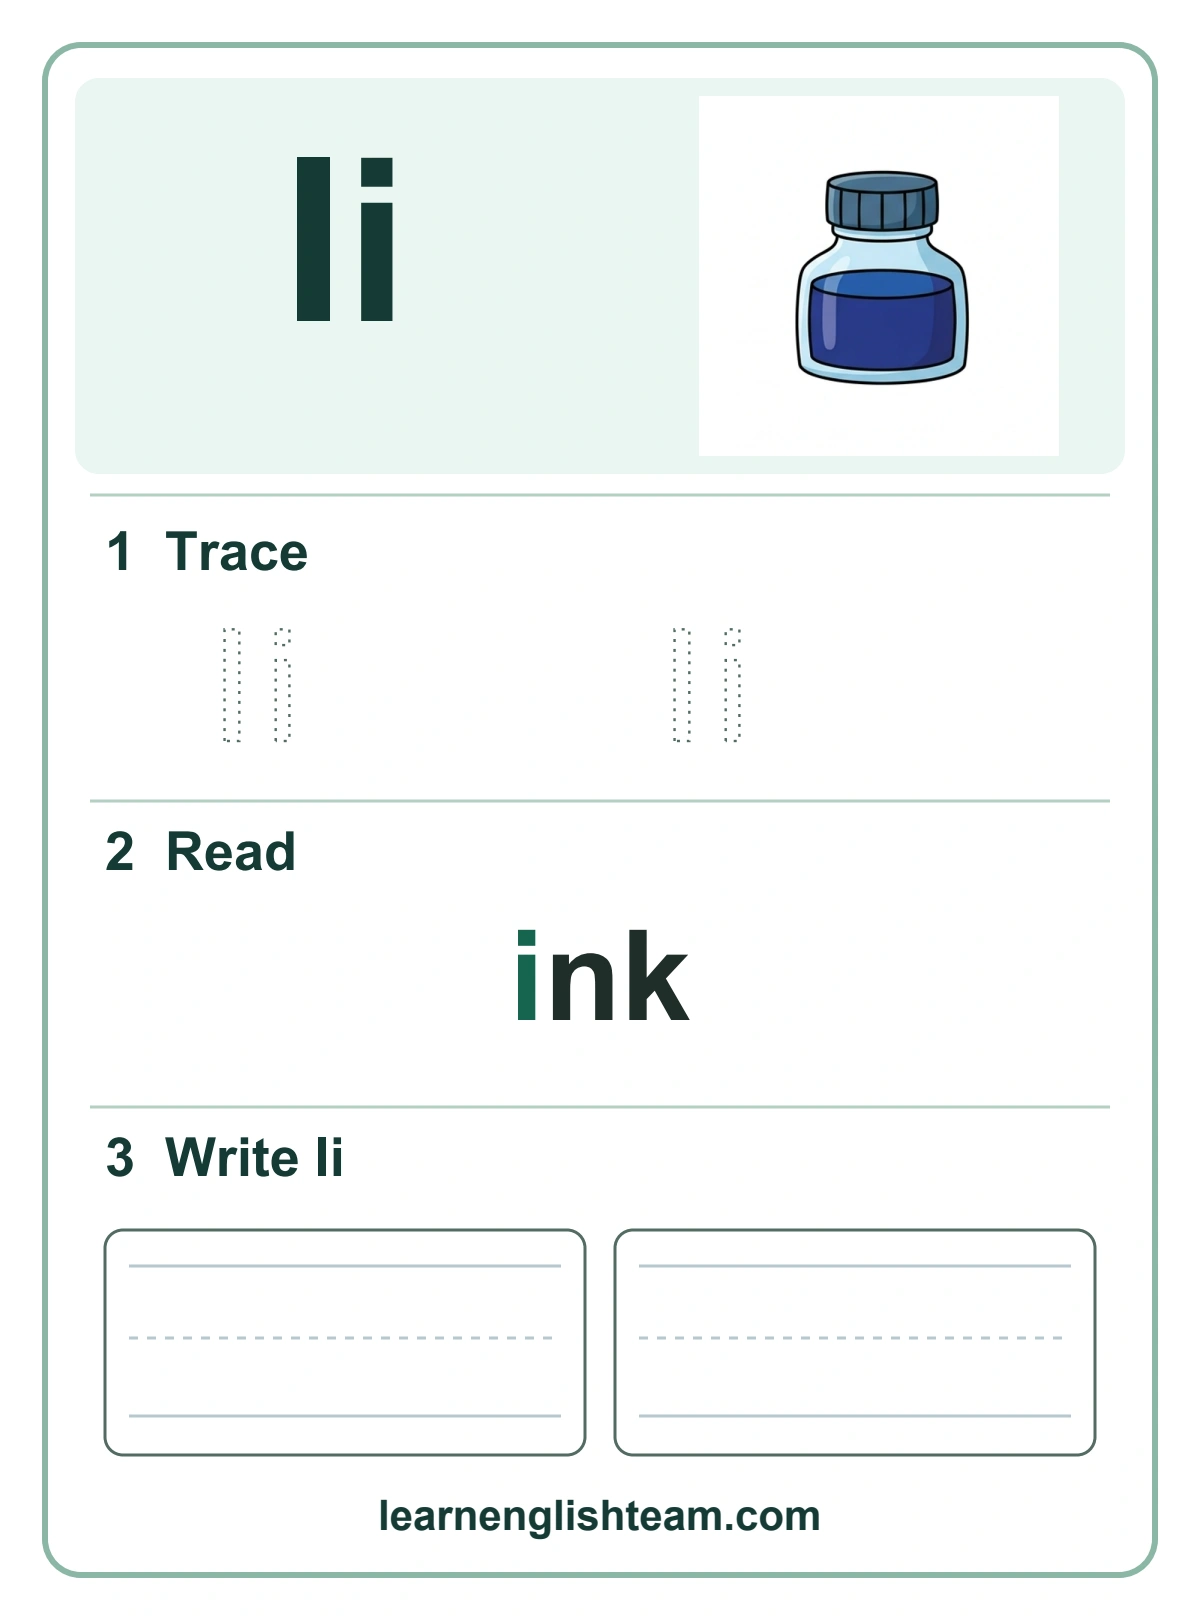
| Ii | ink | /i/ (short i) |
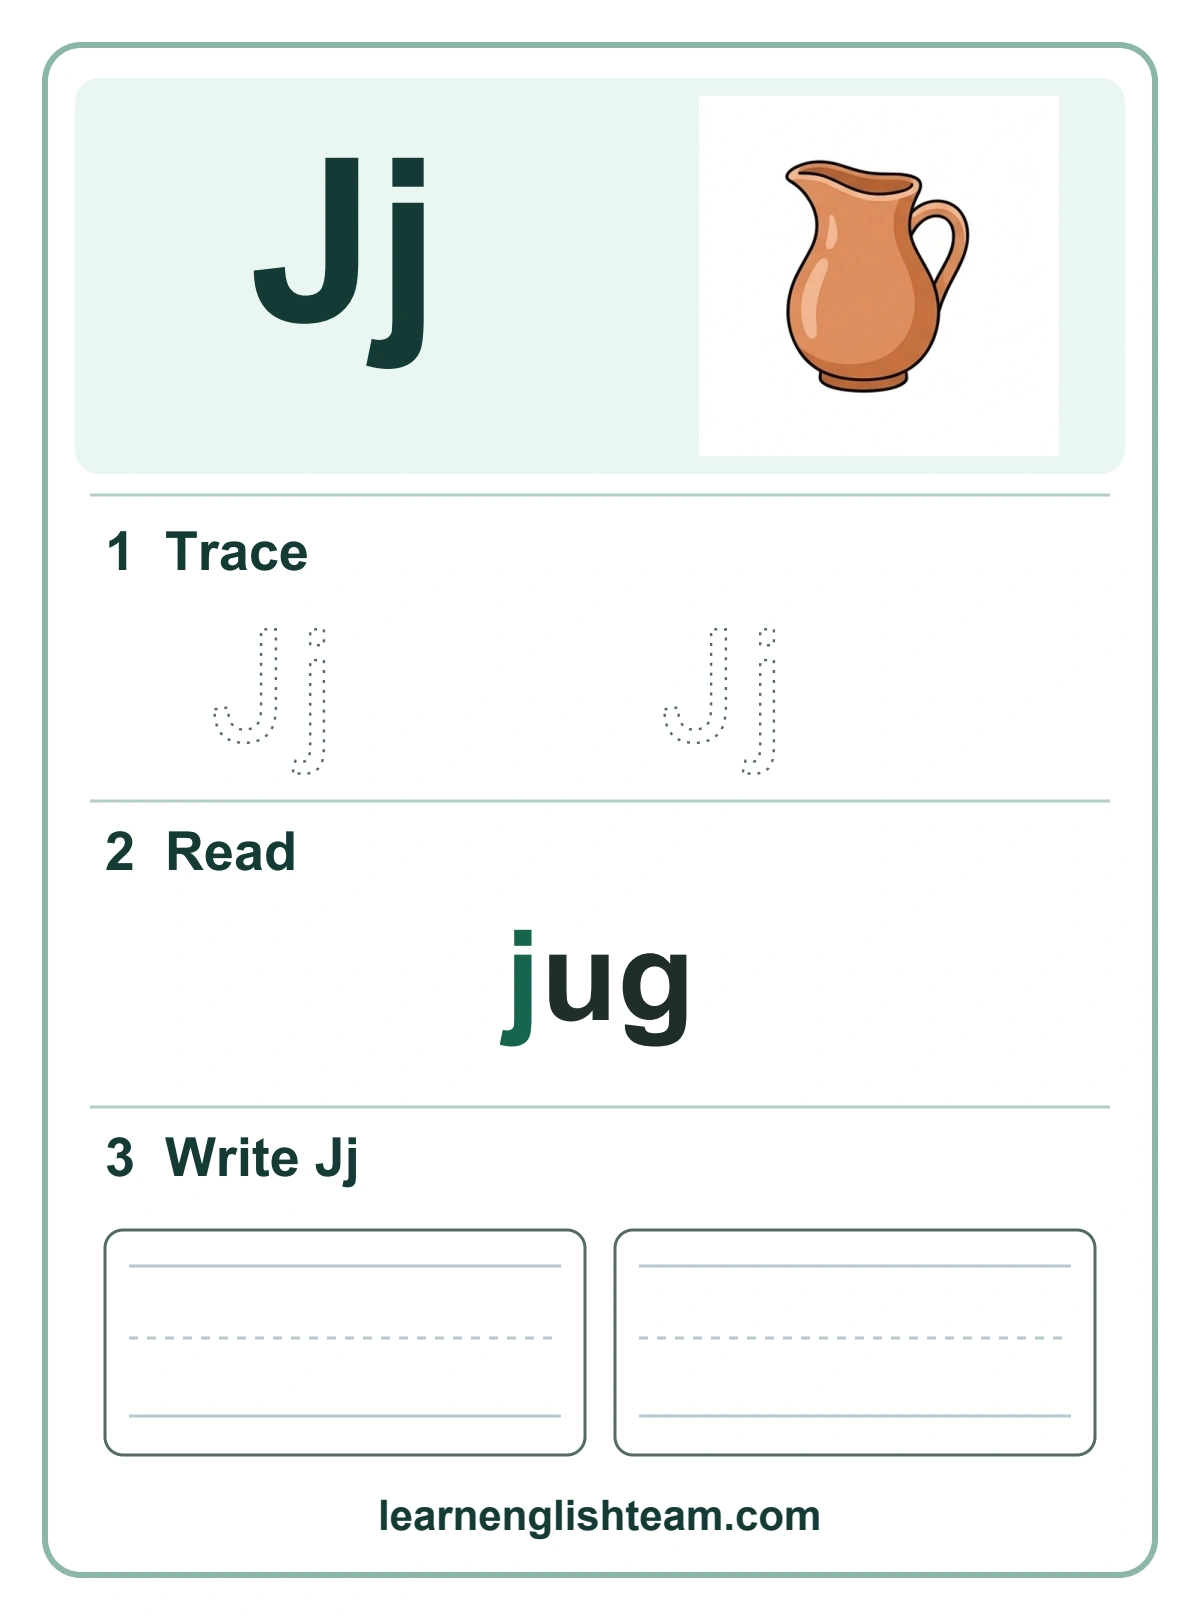
| Jj | jug | /j/ |
| Kk | kite | /k/ |
| Ll | leaf | /l/ |
| Mm | map | /m/ |
| Nn | net | /n/ |
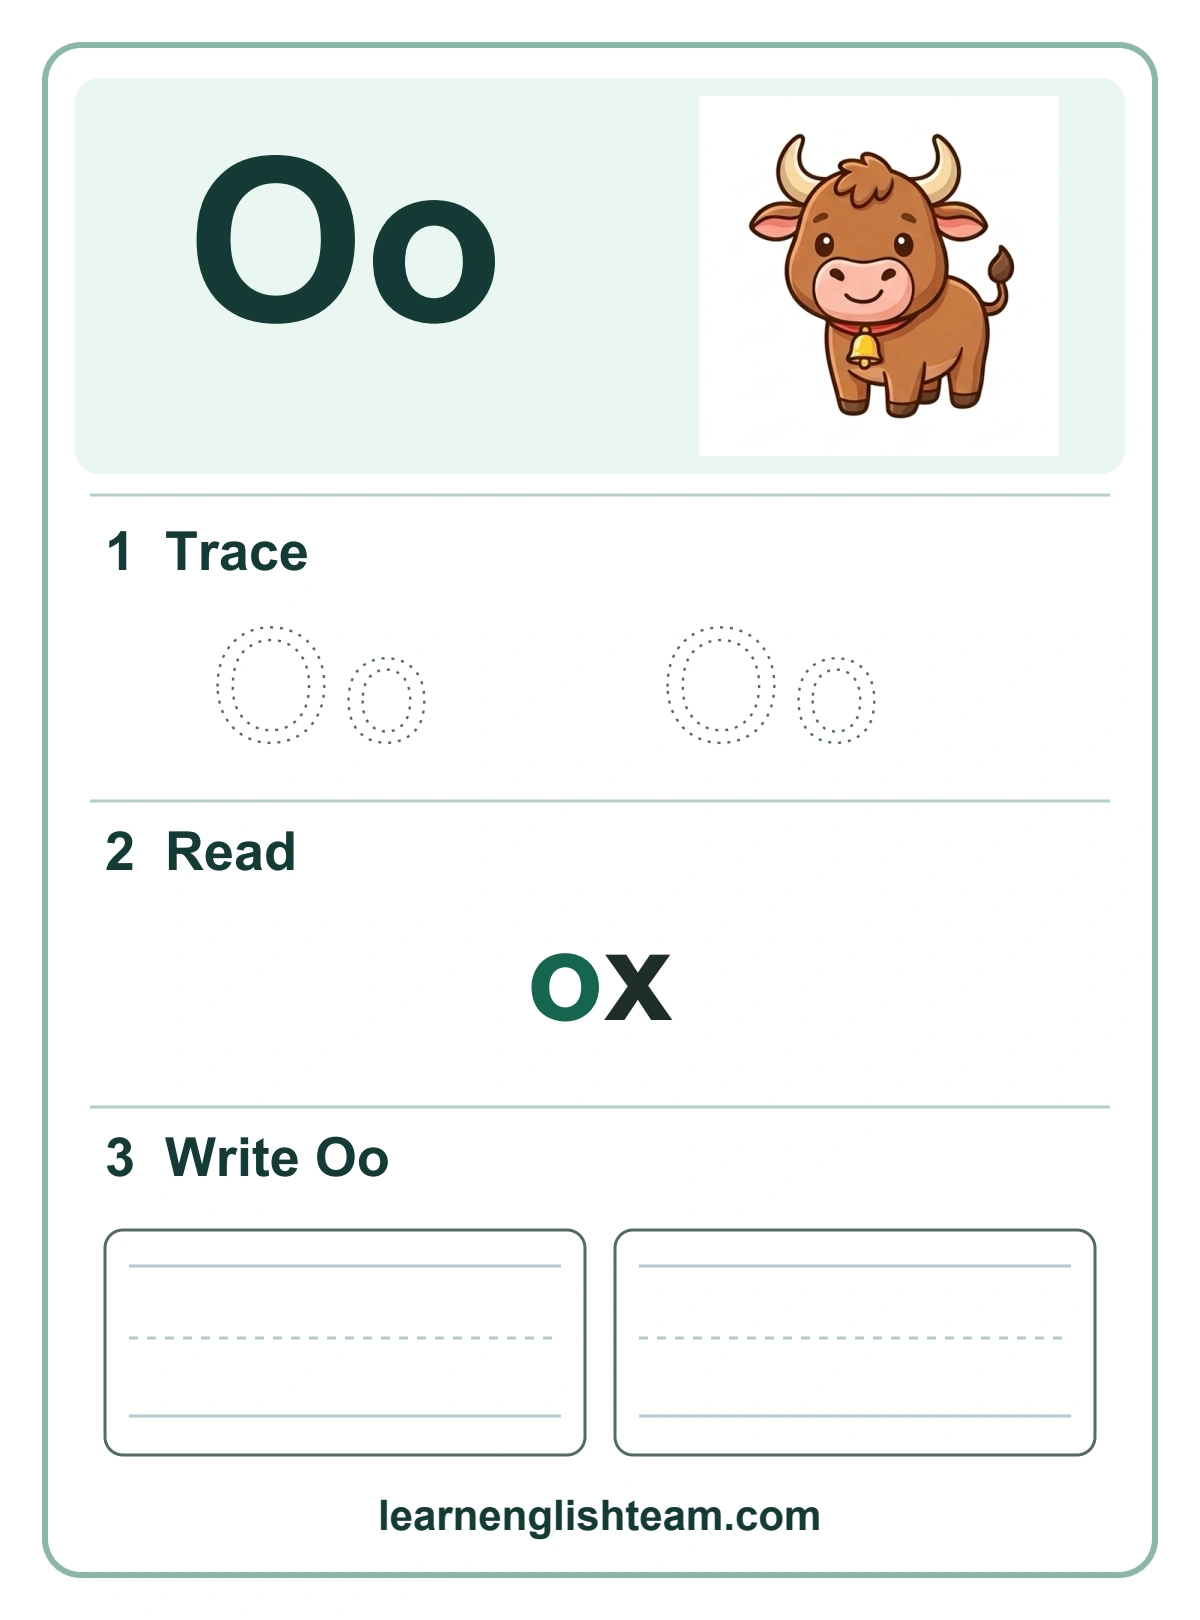
| Oo | ox | /o/ (short o) |
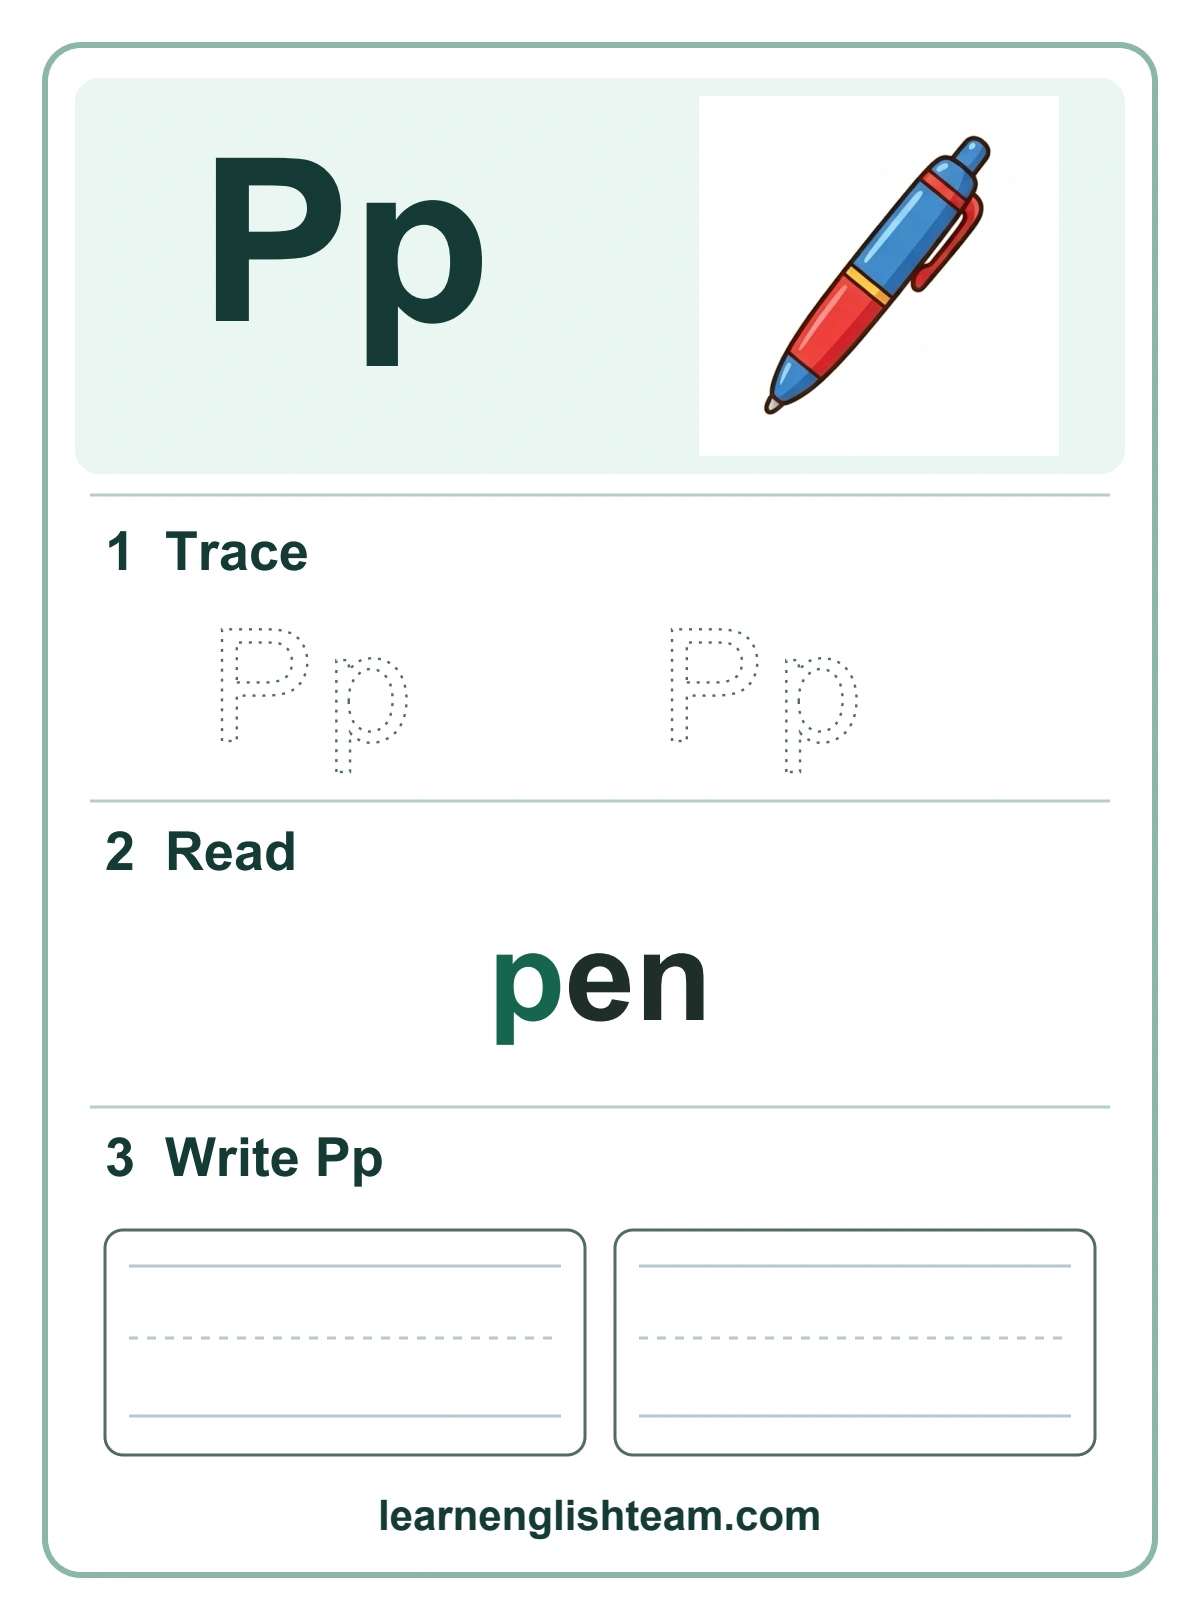
| Pp | pen | /p/ |
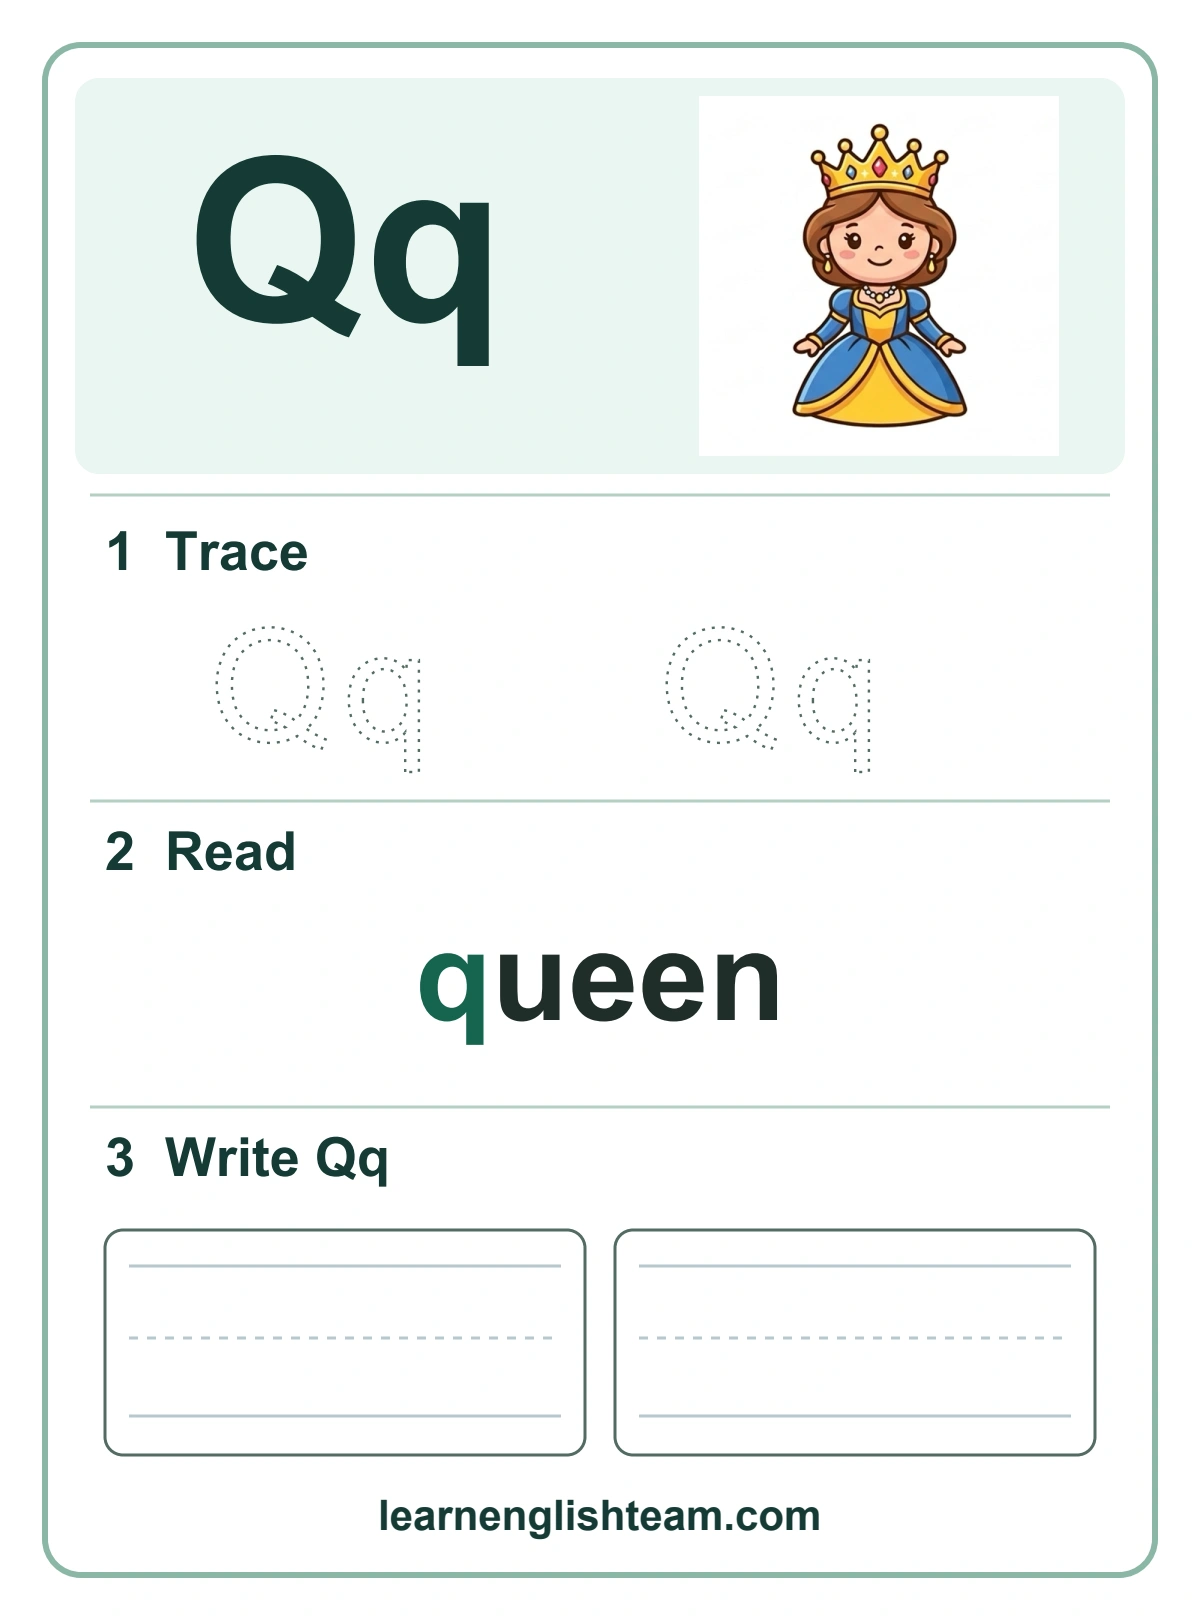
| queen | /kw/ (q + u) | |
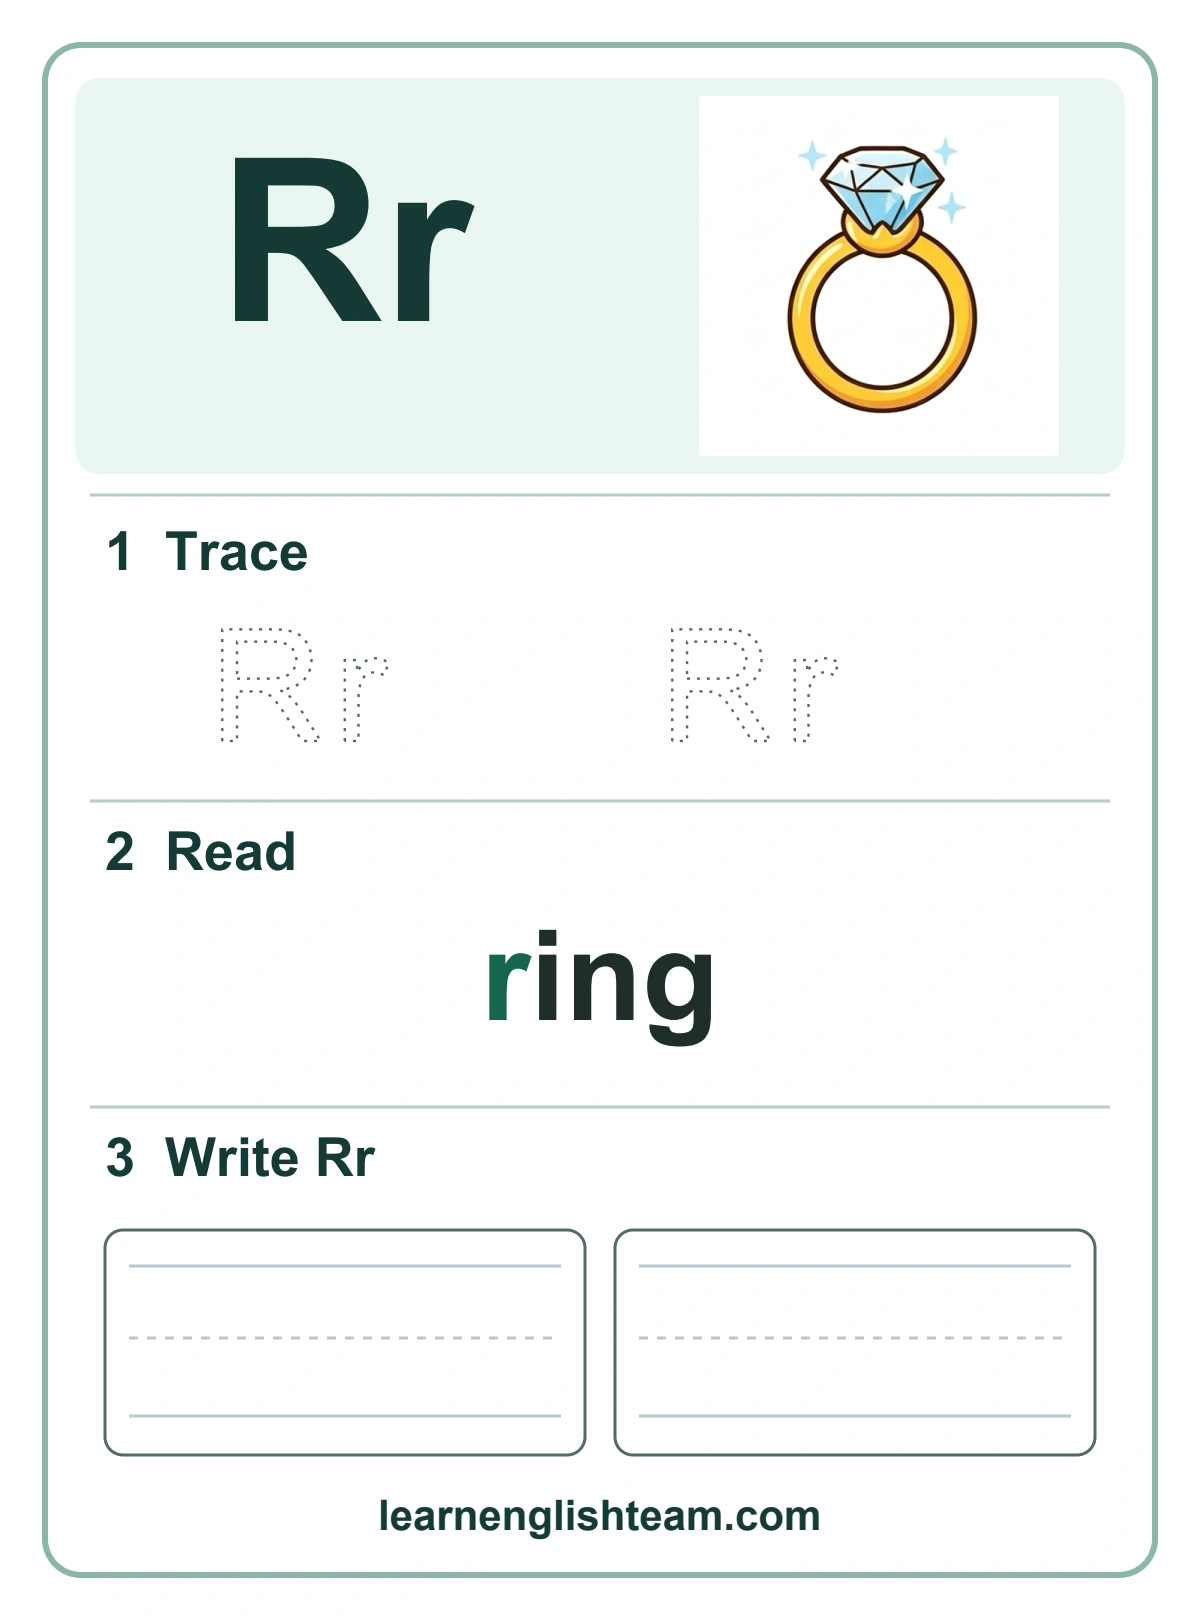
| Rr | ring | /r/ |
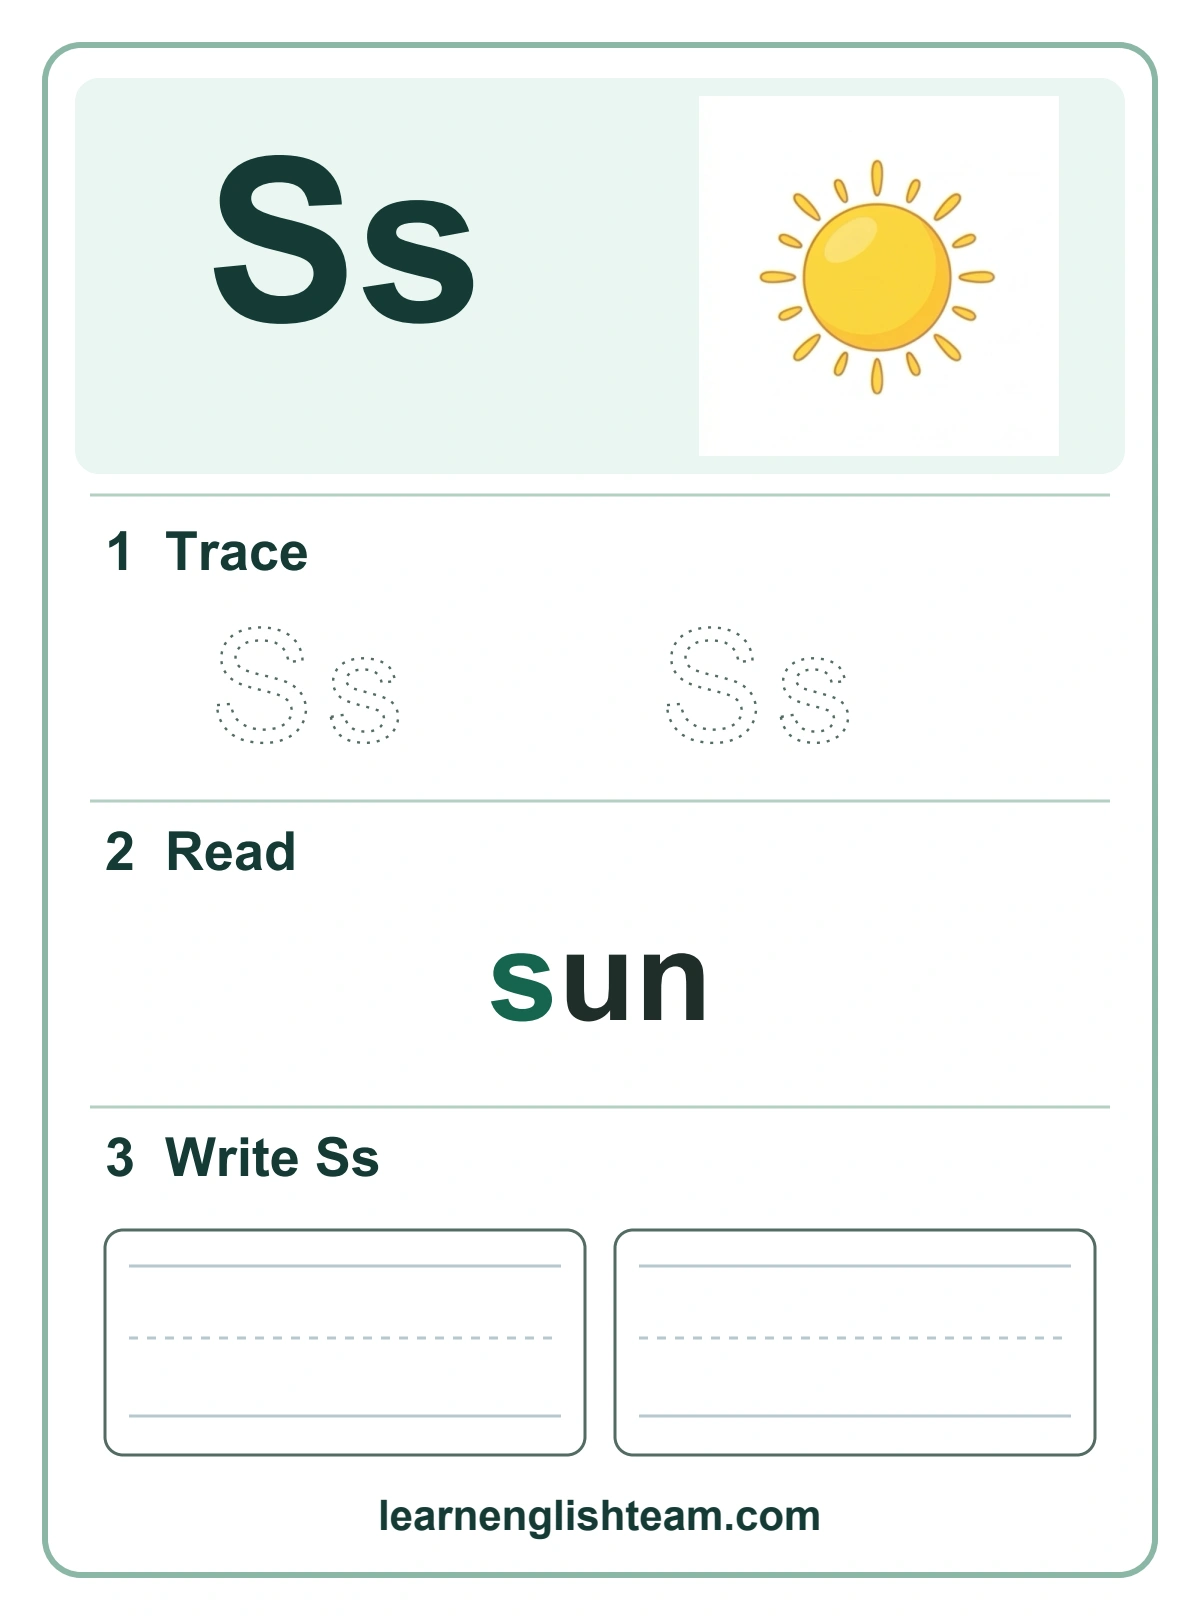
| Ss | sun | /s/ |
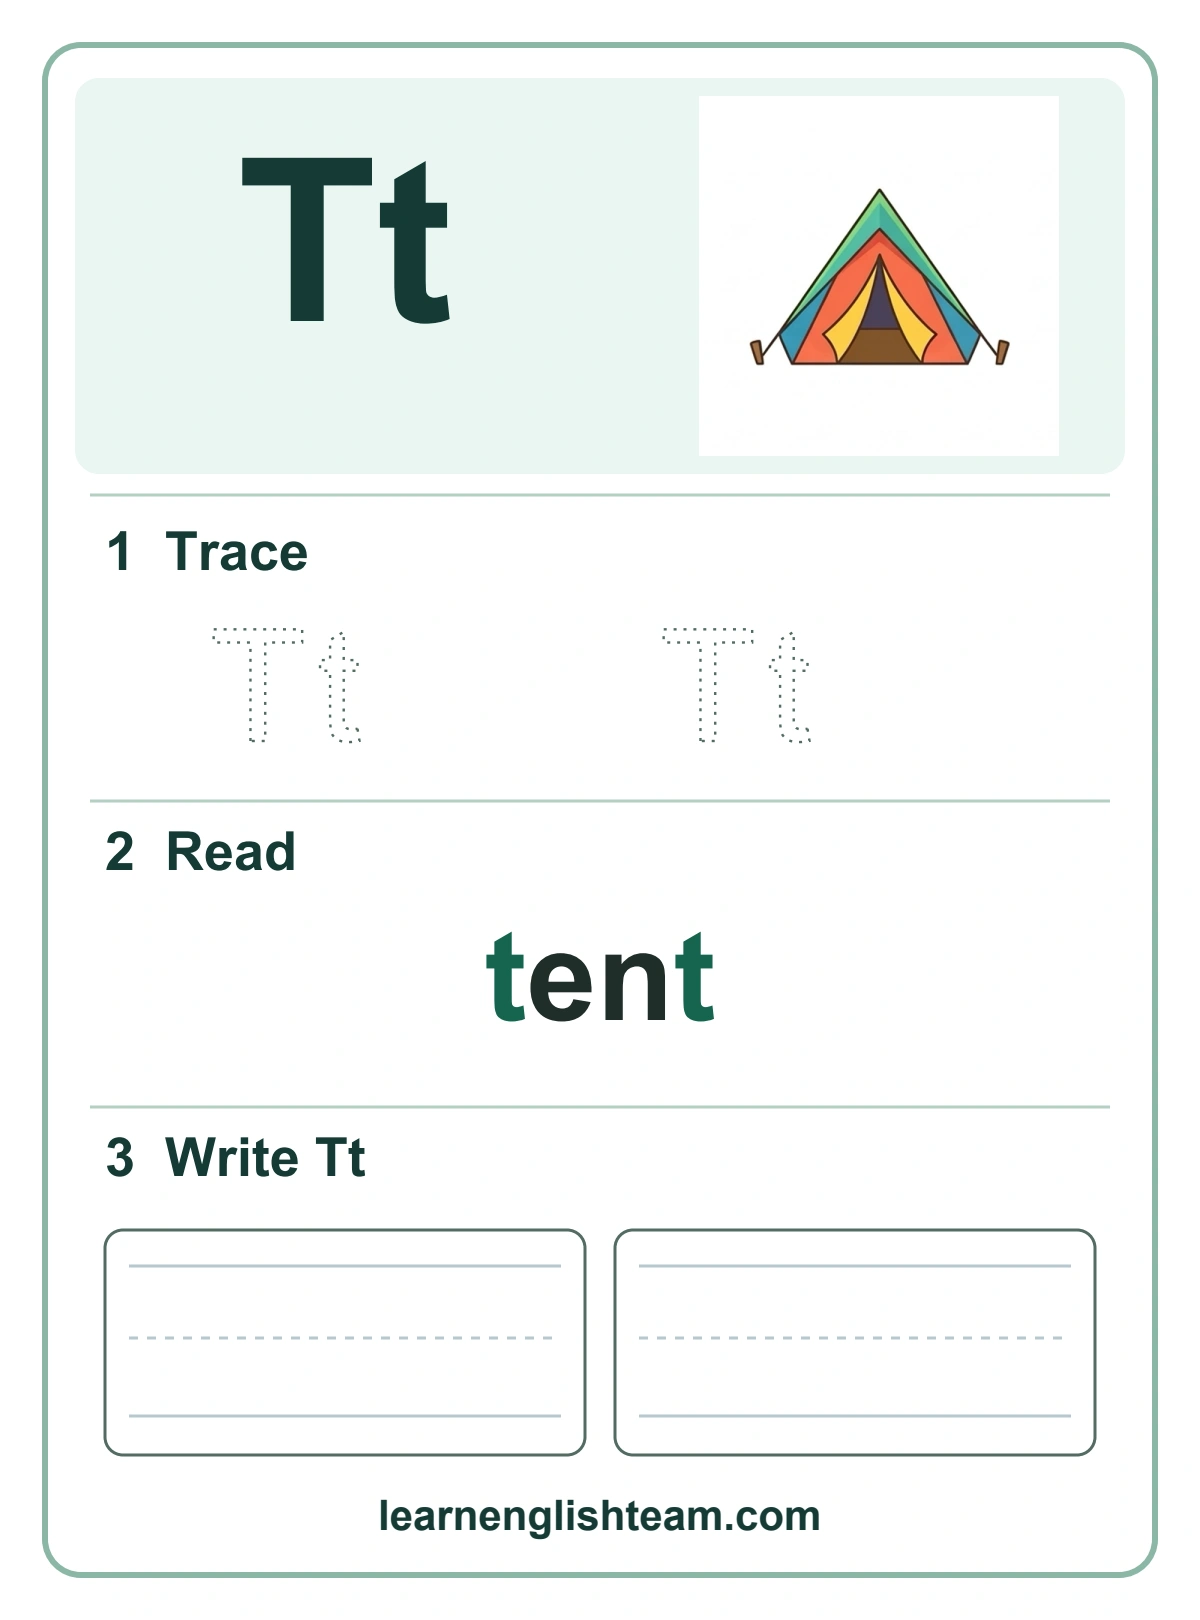
| Tt | tent | /t/ |
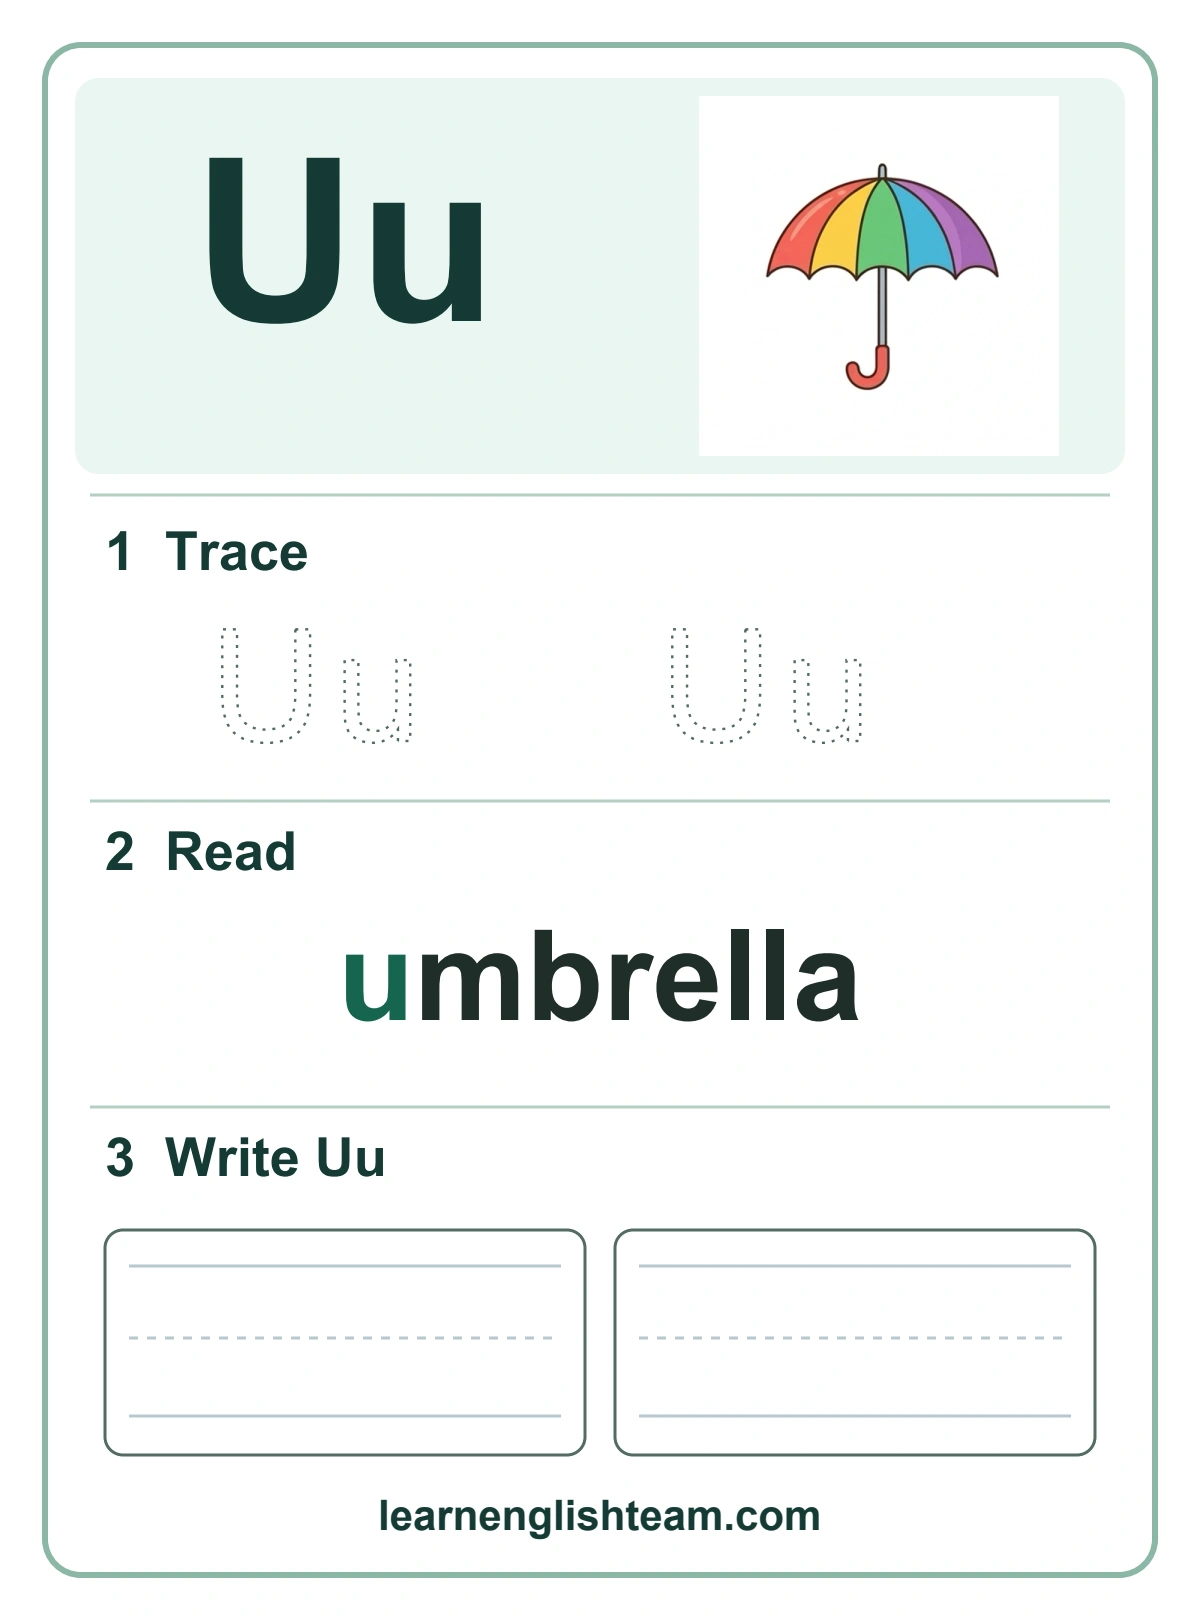
| Uu | umbrella | /u/ (short u) |
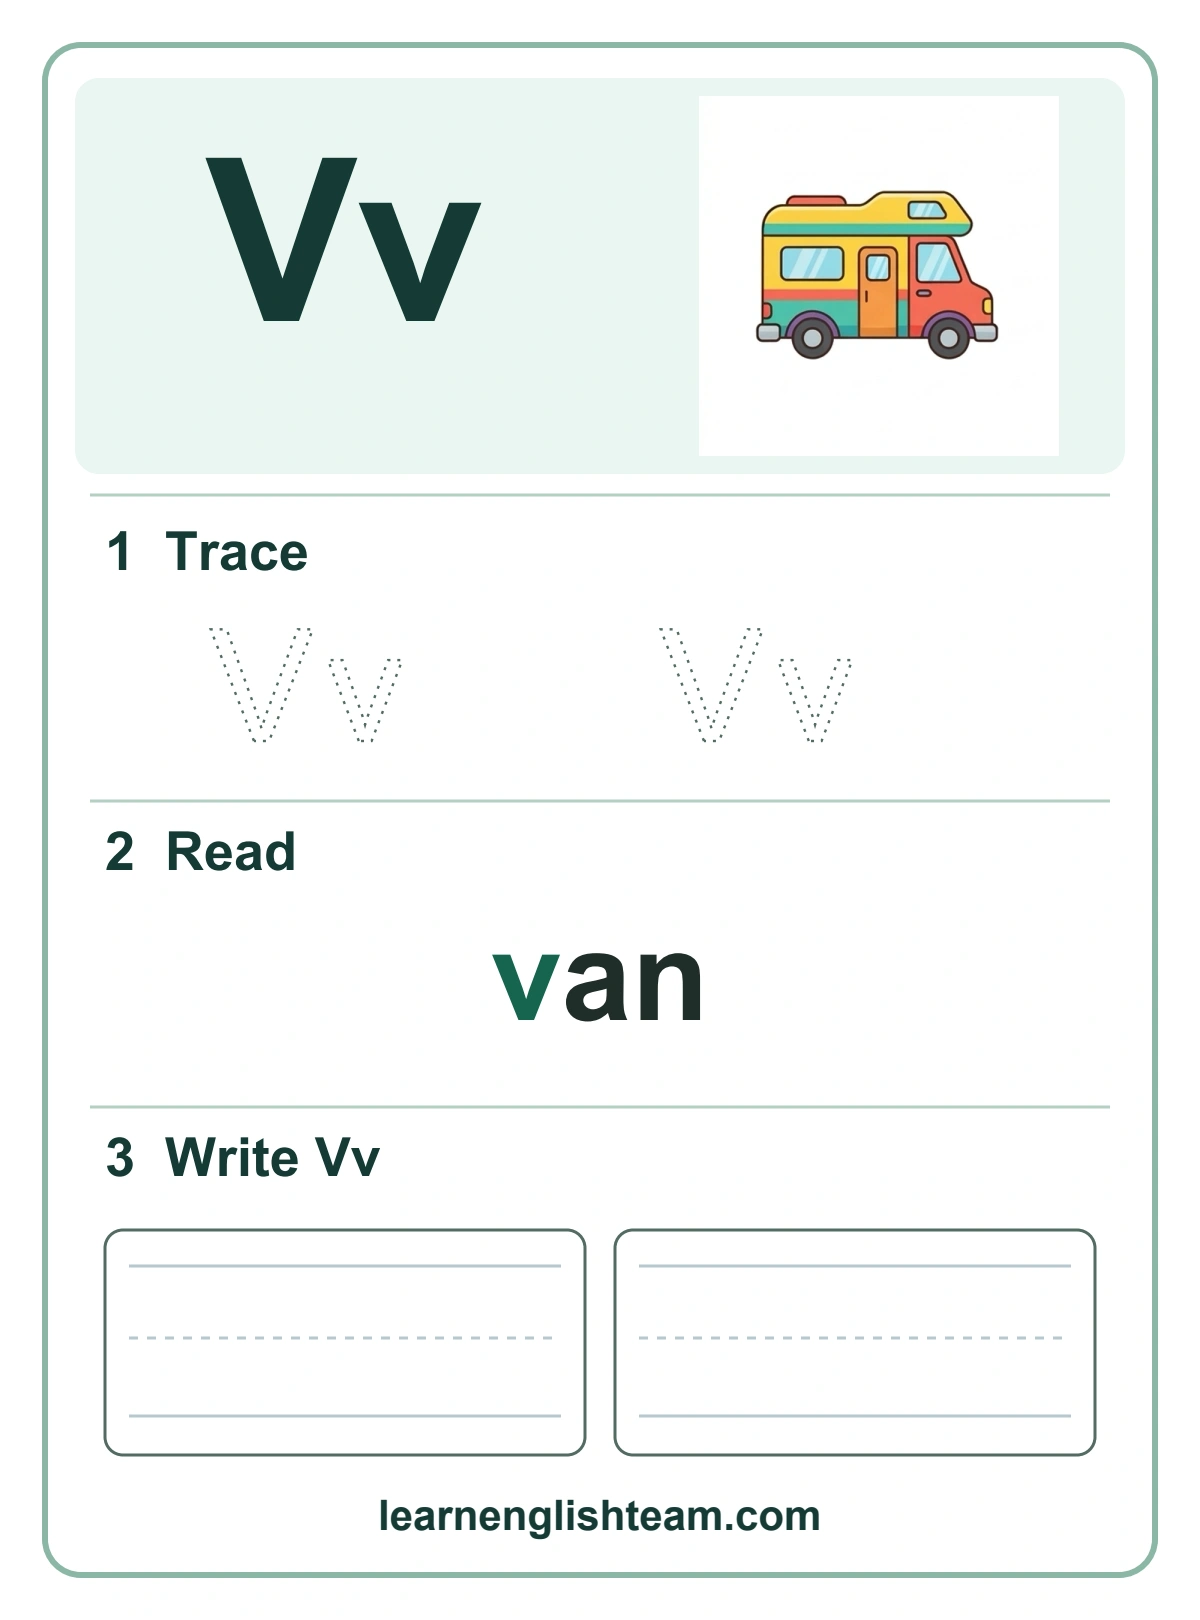
| Vv | van | /v/ |
| Ww | web | /w/ |
| Xx | box | /ks/ (end of box) |
| Yy | yak | /y/ |
| Zz | zipper | /z/ |
- Vowels: A, E, I, O and U use their short sounds in this set, as in apple, egg, ink, ox and umbrella.
- C and K: Both can make the /k/ sound, as in cat and kite.
- Q: Q is usually followed by U in English words. Together they make /kw/, as in queen.
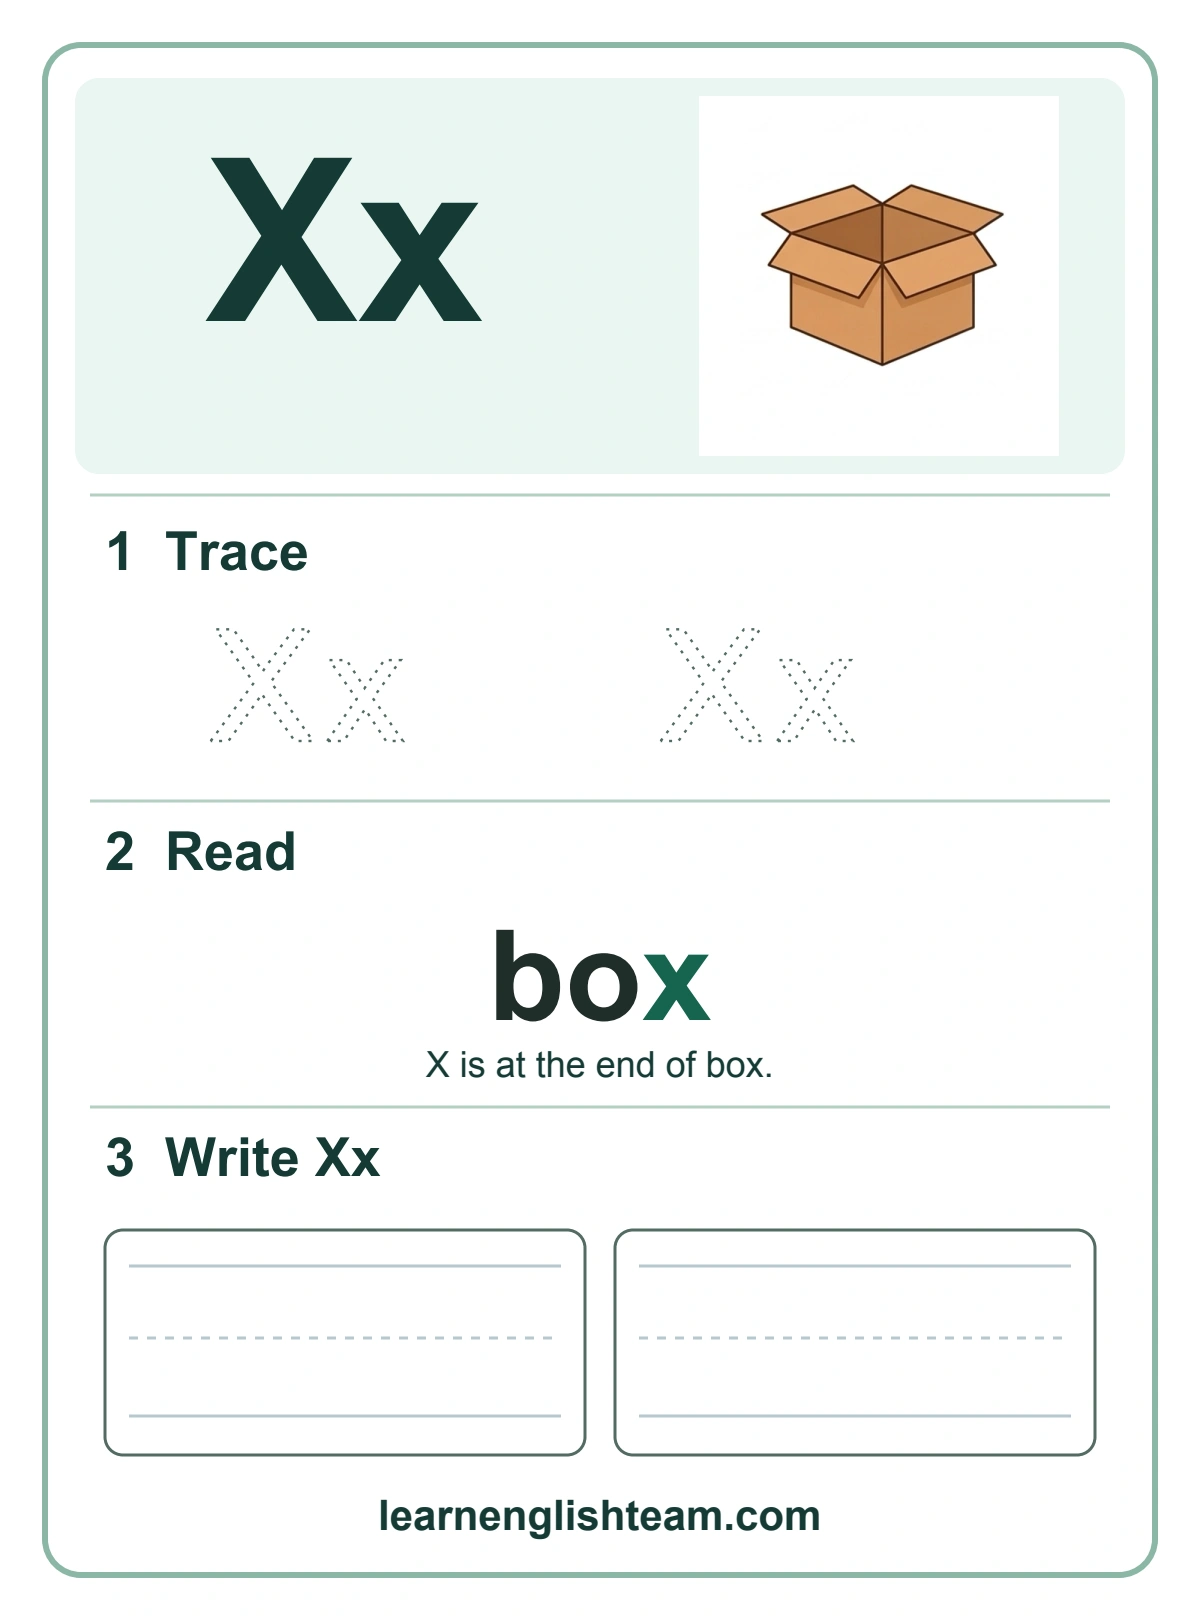
- X: X is the only picture word that does not start with its letter. In box, the x is at the end and makes the two sounds /k/ and /s/ together. Say box slowly and point to the final x.
Teacher’s Tip: Some picture words, such as ox, yak, ink and jug, may be new to young children or beginners. Say the word, point to the picture, and move on. Understanding the word matters less than hearing the first sound.
How to Write Each Letter: Tracing Tips for A–Z
Show the child where to start and which way to move before tracing. The directions below are a common starting point, but schools teach slightly different methods, so follow your school’s style if it has one.
Letters A–F

- Aa — apple (/a/ (short a)): Uppercase: start at the top, slide down to the left, go back to the top and slide down to the right, then add the crossbar. Lowercase: curve around like a c, then draw a short line down.
- Bb — ball (/b/): Uppercase: line down, then two bumps from the top. Lowercase: line first, then the bump on the right. Think “bat, then ball.”
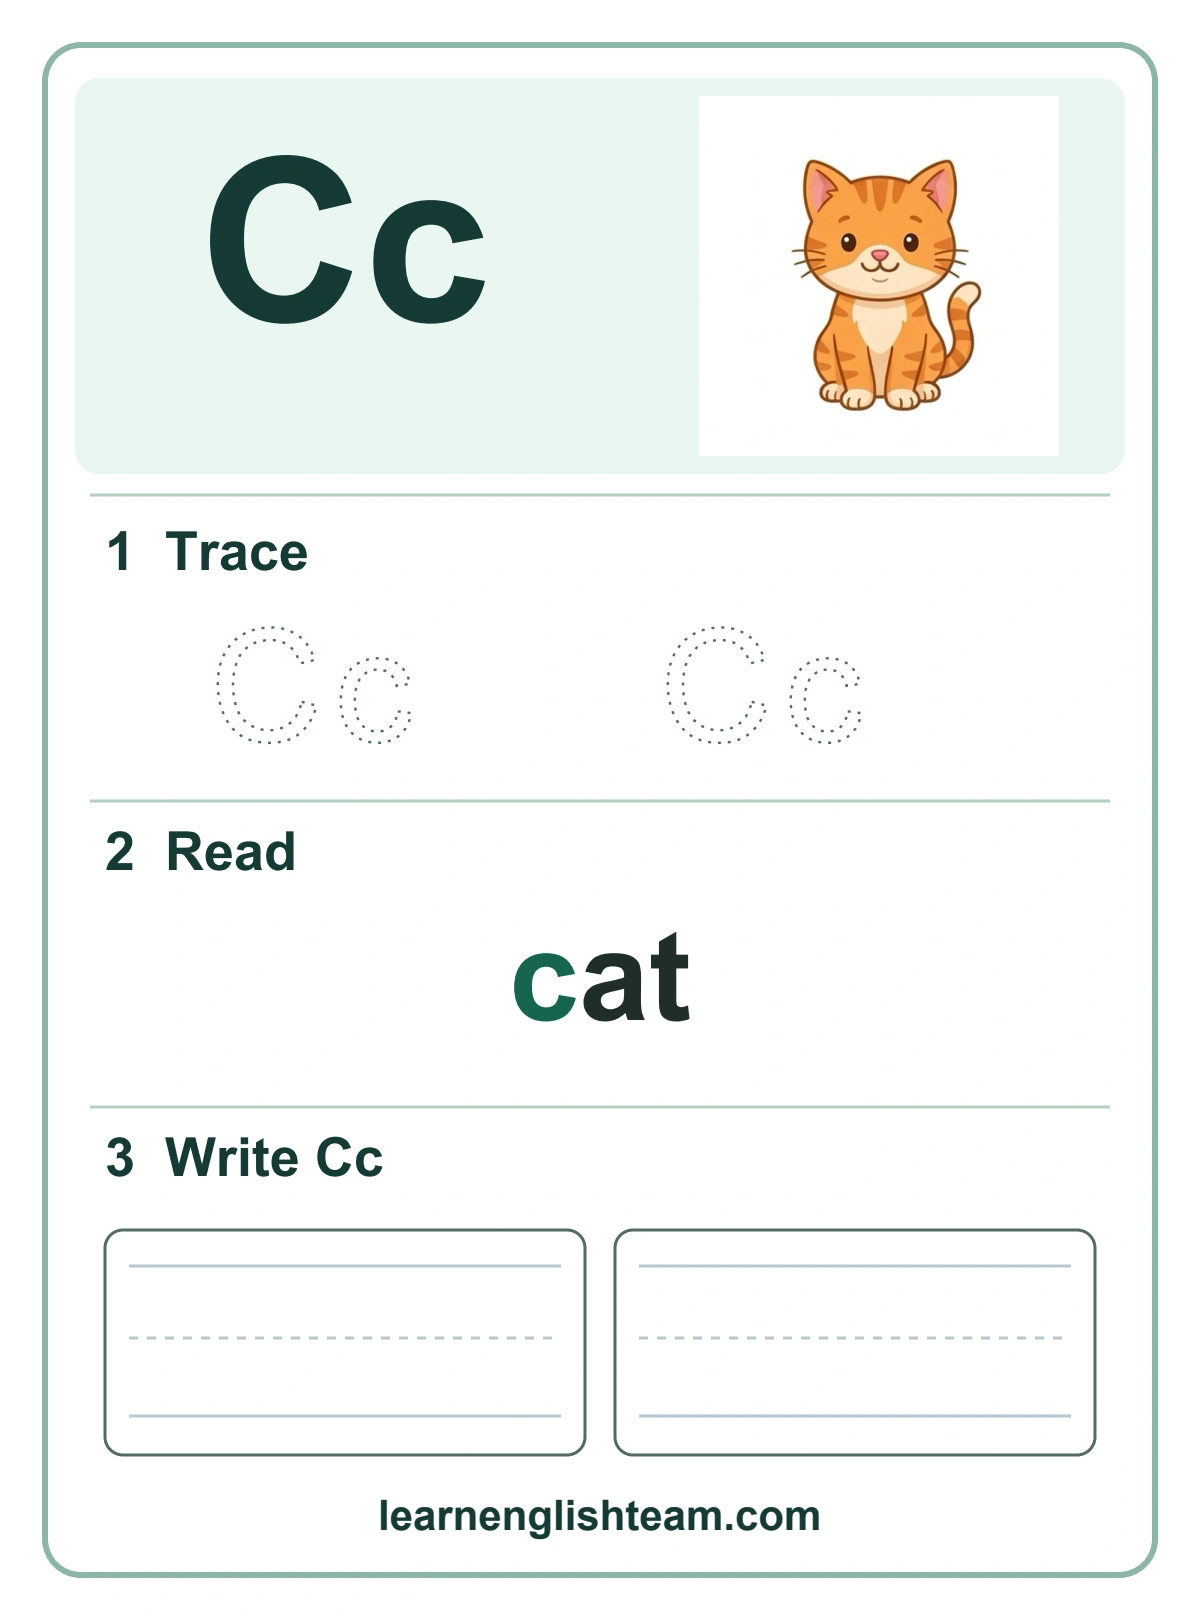
- Cc — cat (/k/): Start near the top right and curve around to the bottom right in one stroke. The opening faces right.
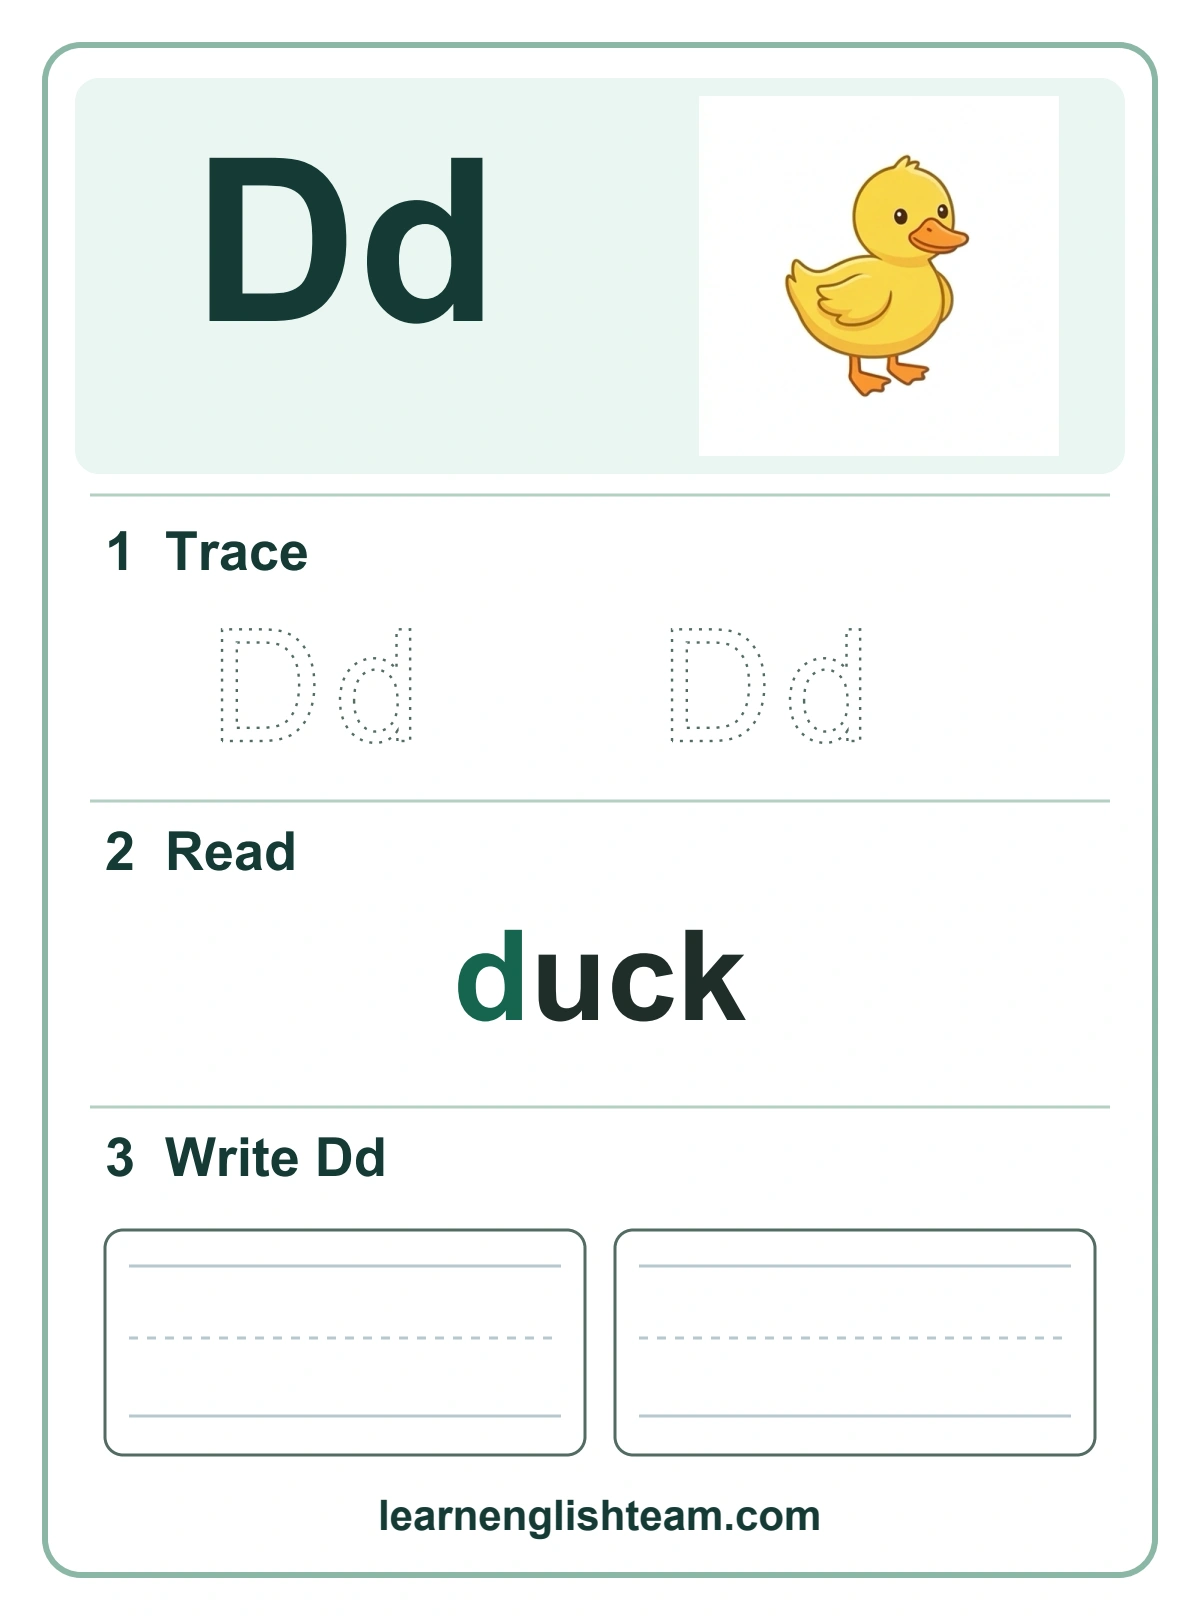
- Dd — duck (/d/): Uppercase: line down, then one big curve from top to bottom. Lowercase: start like a c, then add a tall line. Remember: d starts with a curve, b starts with a line.
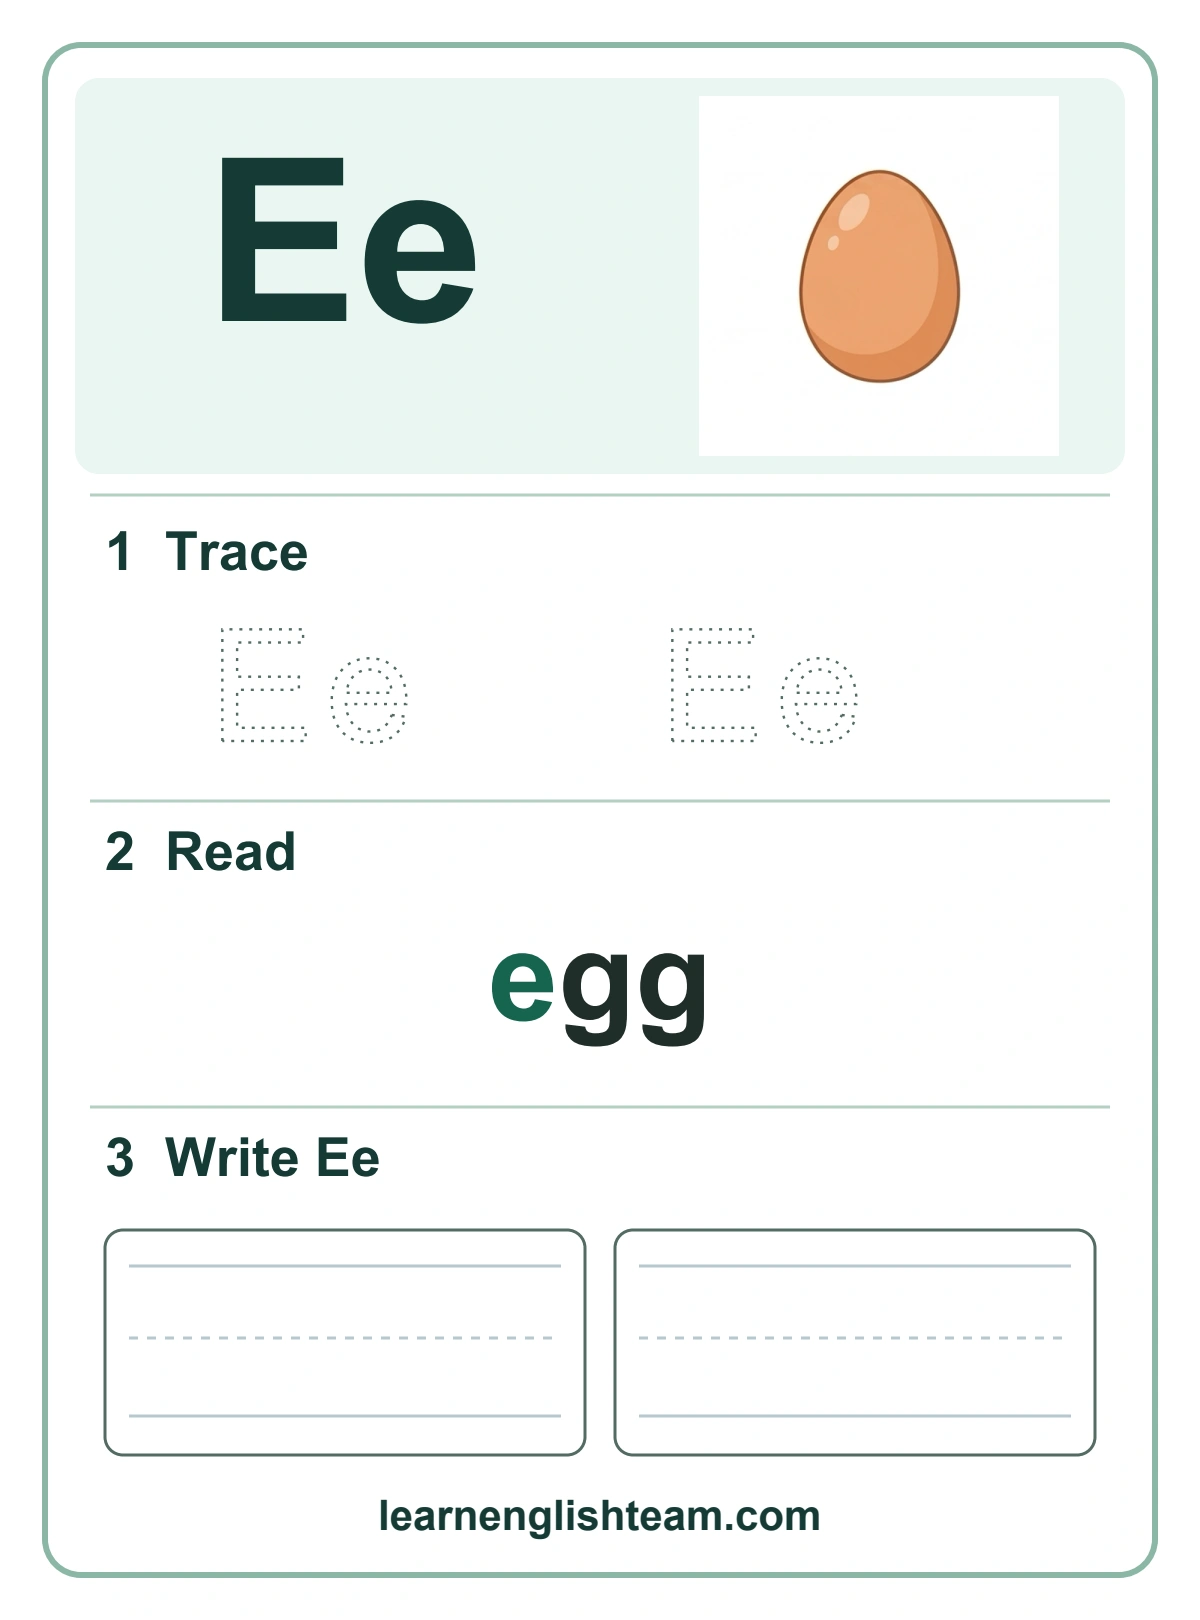
- Ee — egg (/e/ (short e)): Uppercase: line down, then three lines to the right: top, middle, bottom. Lowercase: start in the middle with a line to the right, then curve up and around.
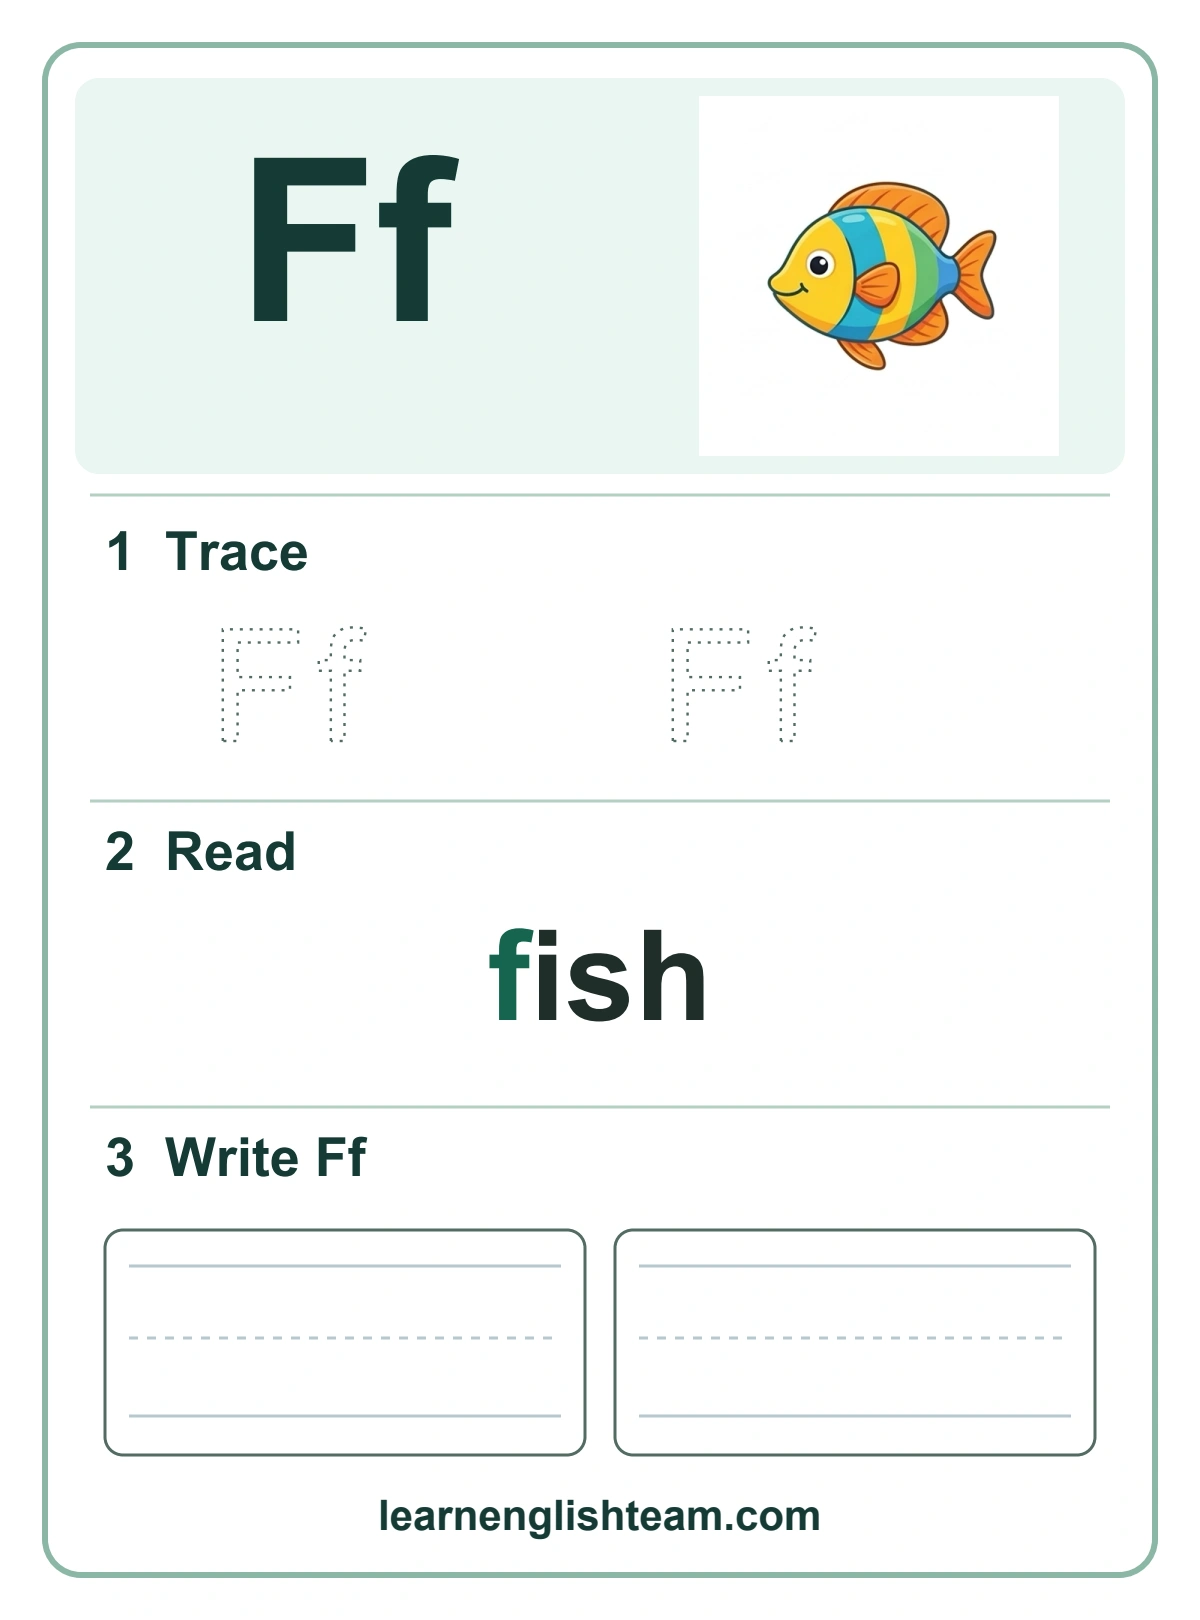
- Ff — fish (/f/): Uppercase: line down, then a top line and a shorter middle line. Lowercase: curve over at the top, go down, then cross with a short line.
Letters G–L

- Gg — goat (/g/): Uppercase: start like a C, then add a short line going in. Lowercase: curve like a, go down, and hook the tail under the line to the left.
- Hh — hat (/h/): Uppercase: two lines down, then a bridge in the middle. Lowercase: tall line down, then back up and over in a small arch.
- Ii — ink (/i/ (short i)): Uppercase: a line down (add a top and bottom bar if your school teaches it). Lowercase: a short line down, then a dot on top.
- Jj — jug (/j/): Uppercase: line down, then hook to the left at the bottom. Lowercase: line down with a tail below the line, then a dot on top.
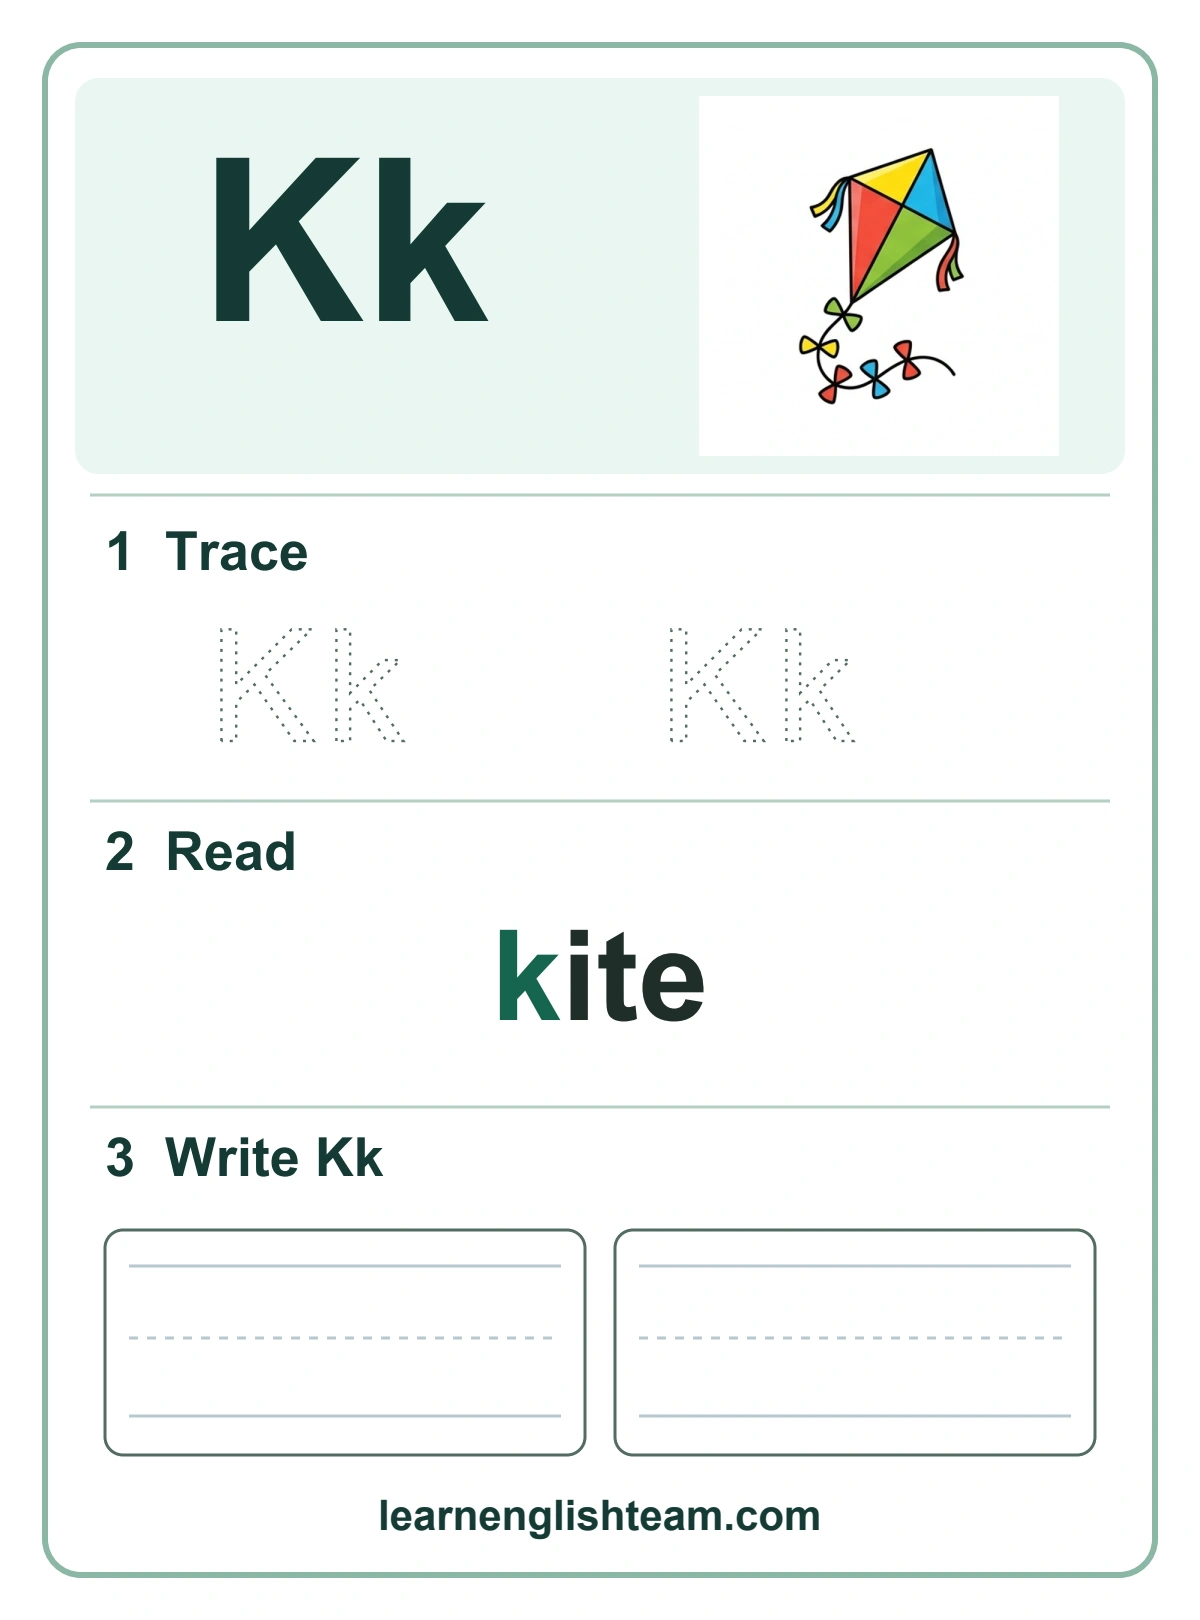
- Kk — kite (/k/): Uppercase: line down, then two short diagonal lines that meet it. Lowercase: tall line, then two small diagonals.
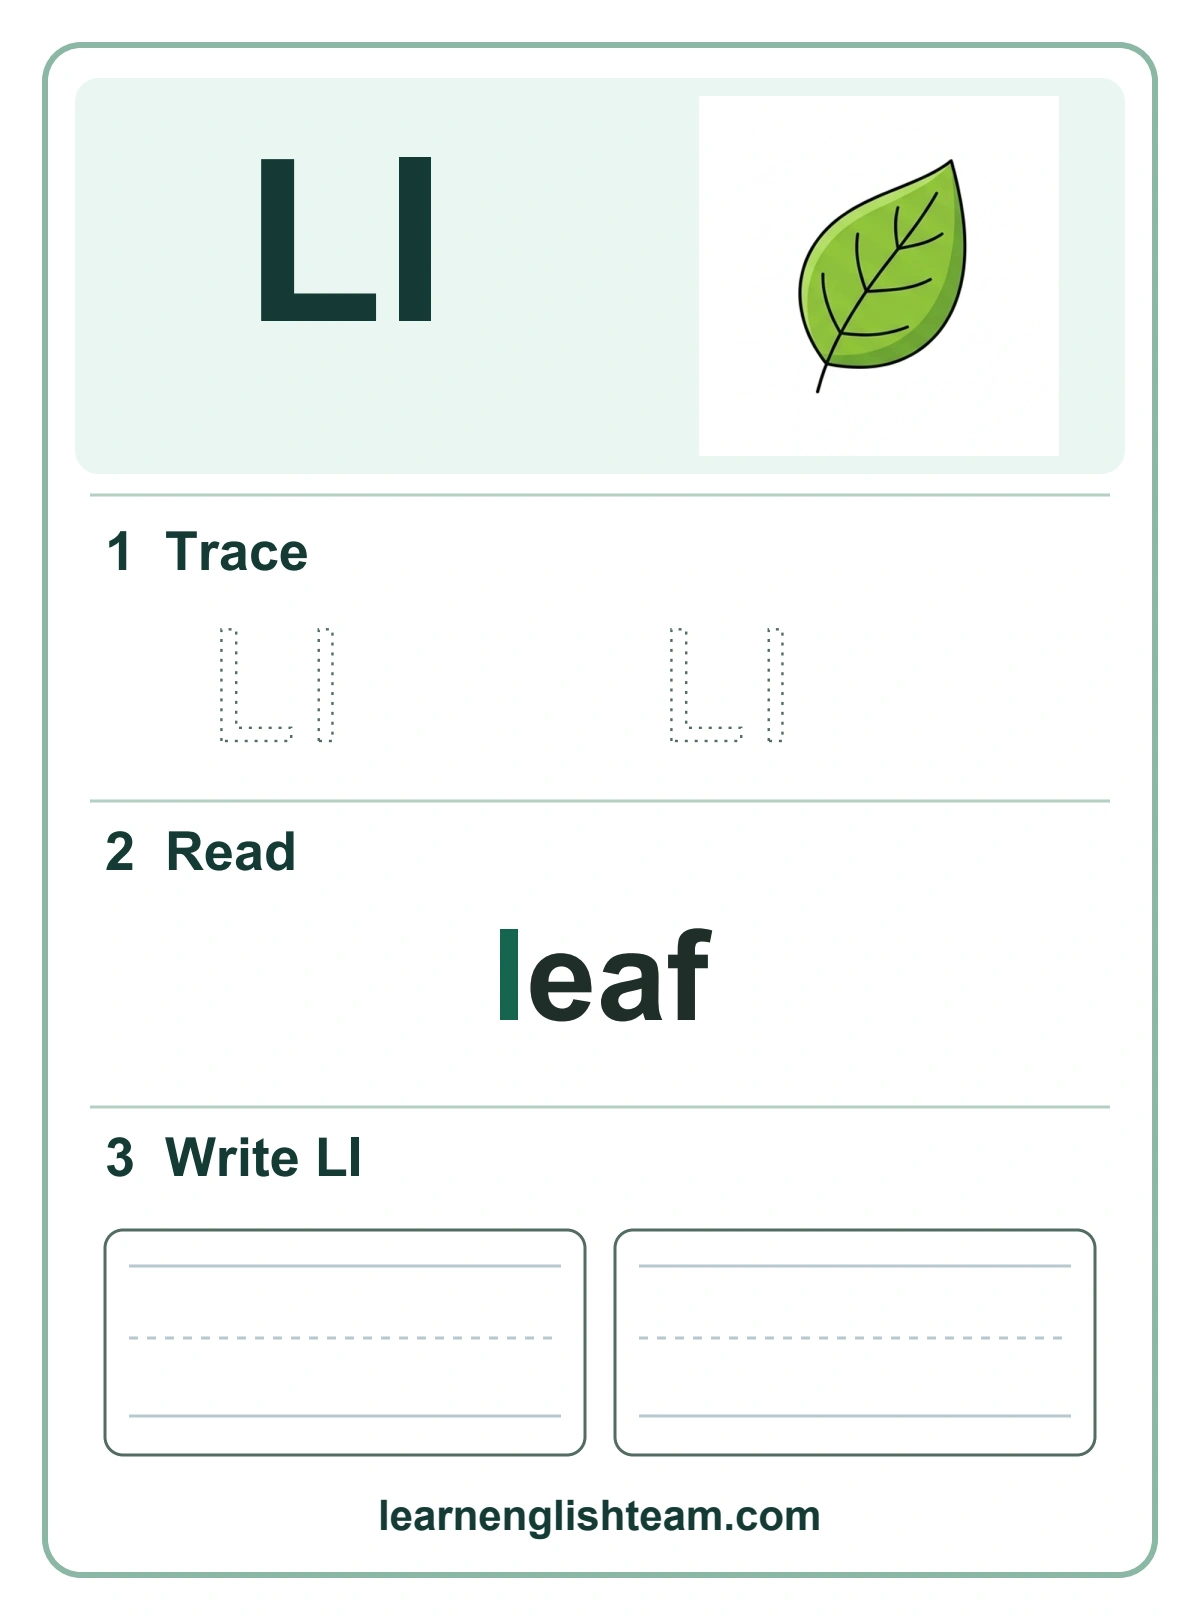
- Ll — leaf (/l/): Uppercase: line down, then a line to the right. Lowercase: one tall line down.
Letters M–R

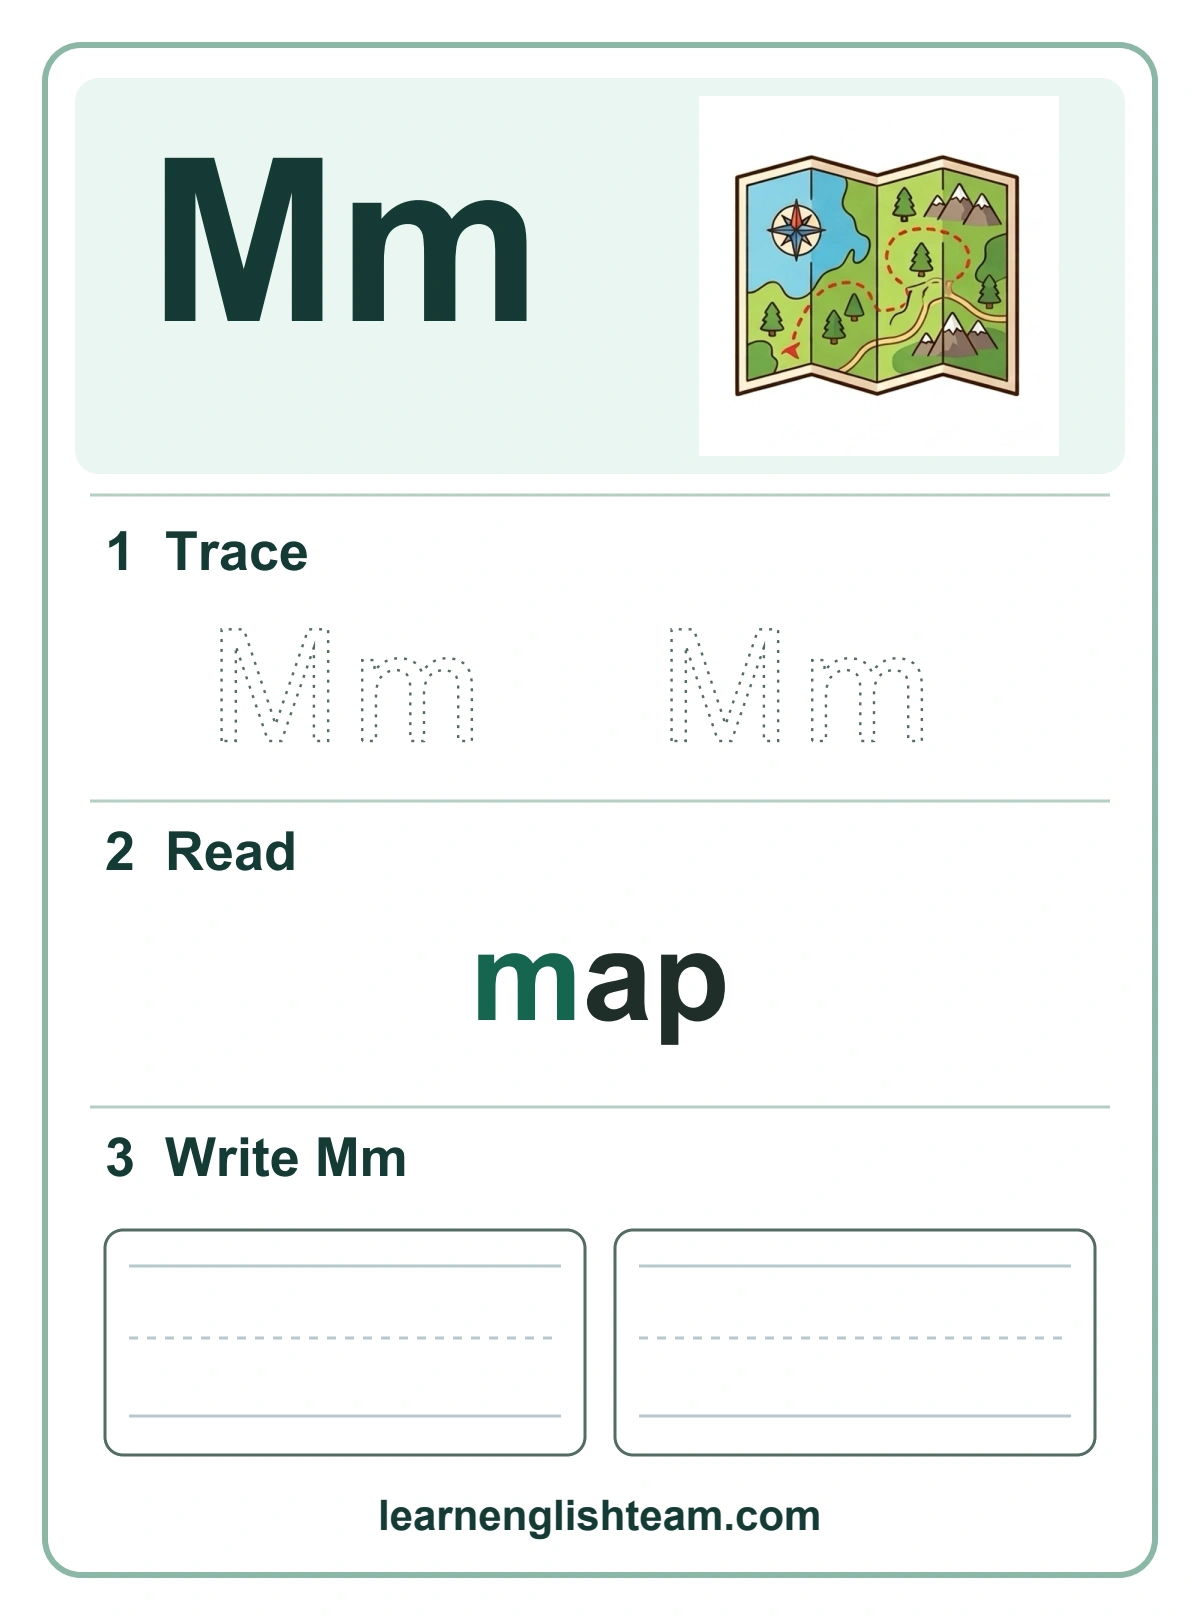
- Mm — map (/m/): Uppercase: line up, slide down to the middle, slide up, then line down. Lowercase: line down, then two small humps.
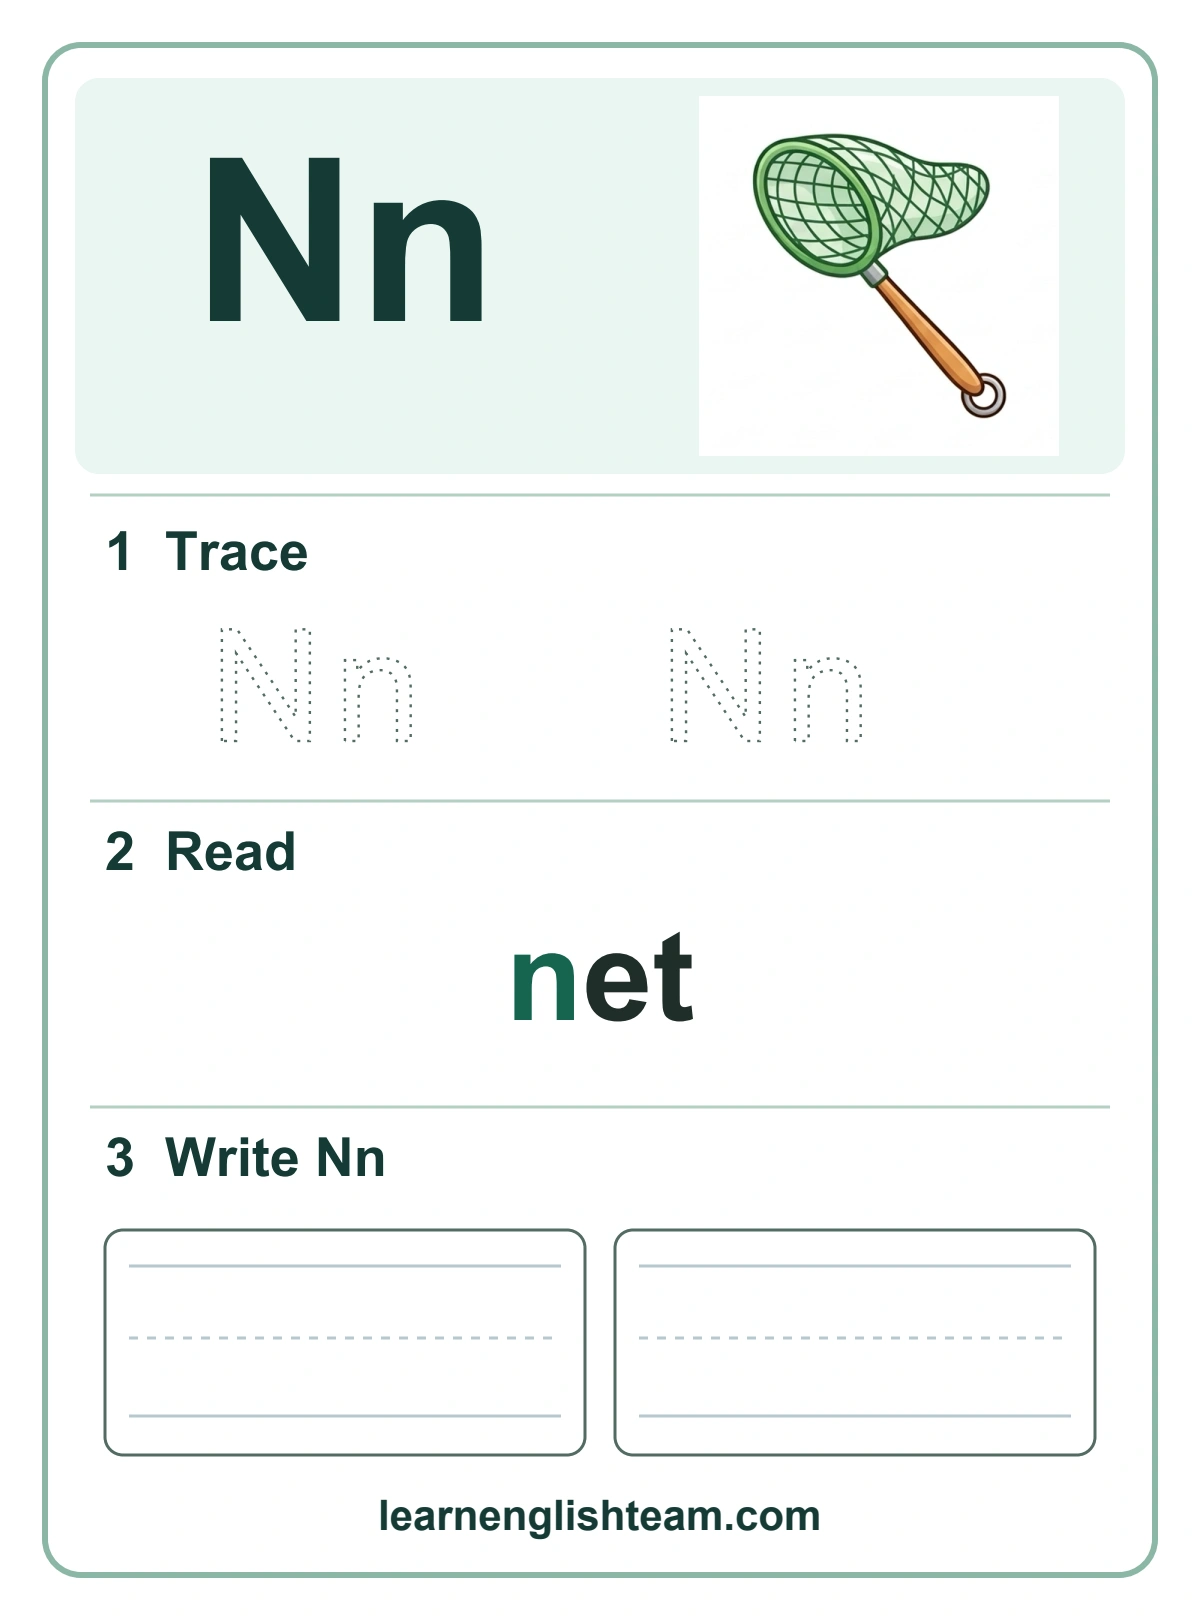
- Nn — net (/n/): Uppercase: line up, slide down diagonally, line up. Lowercase: line down, then back up and make one hump.
- Oo — ox (/o/ (short o)): Start at the top and go round counterclockwise until the circle closes. Lowercase is the same, only smaller.
- Pp — pen (/p/): Uppercase: line down, then a bump from the top to the middle. Lowercase: line down below the line, then a bump to the right.
- Qq — queen (/kw/ (q + u)): Uppercase: make an O, then add a small tail. Lowercase: curve like a, then a straight line down. Compare with p: the line is on the right for q and on the left for p.
- Rr — ring (/r/): Uppercase: write a P, then add a leg. Lowercase: line down, back up, then a small arm.
Letters S–X

- Ss — sun (/s/): Start at the top right, curve left, then curve right, like a snake. Check that it does not face backwards.
- Tt — tent (/t/): Line down, then a bar across the top. Lowercase t is a little shorter than l.
- Uu — umbrella (/u/ (short u)): Uppercase: down, curve round, up. Lowercase: down, curve round, up, then a short line down on the right.
- Vv — van (/v/): Slide down to a point, then slide up. Lowercase is the same, only smaller.
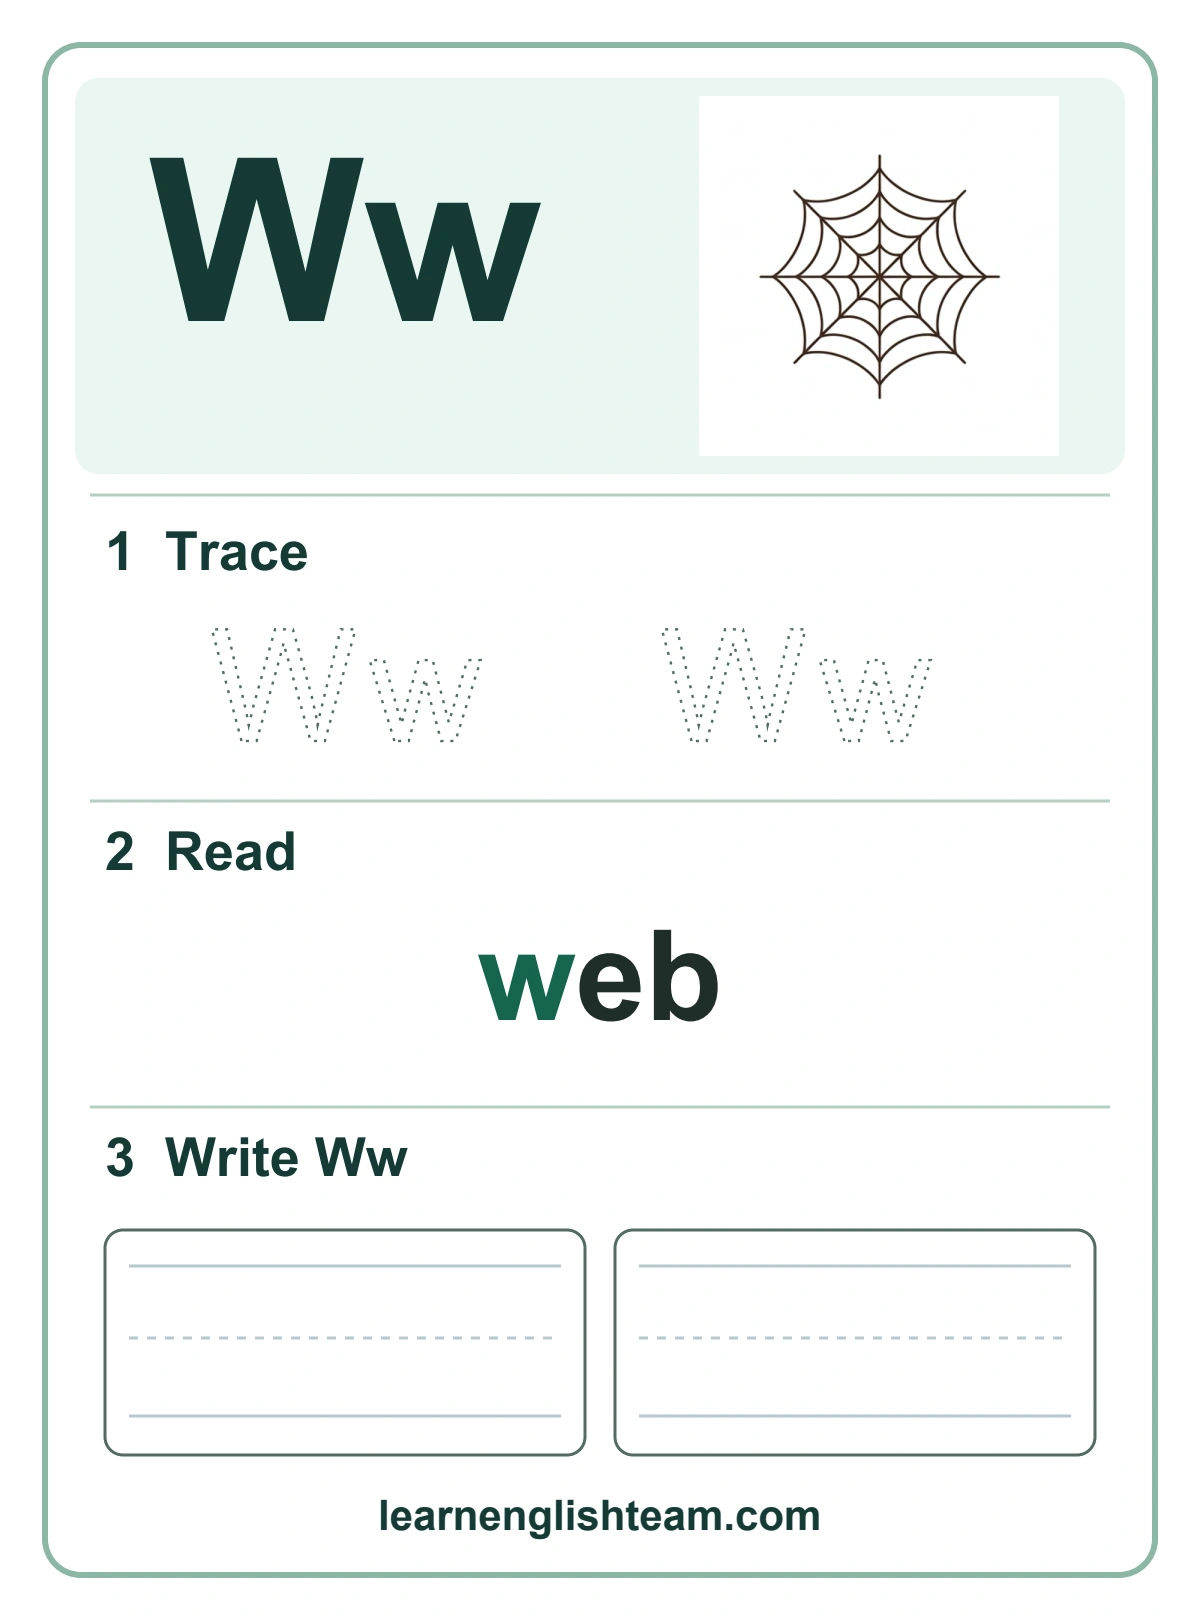
- Ww — web (/w/): Down, up, down, up, like two Vs joined. Lowercase is the same, only smaller.
- Xx — box (/ks/ (end of box)): Two crossing diagonals: top left to bottom right, lift, then top right to bottom left.
Letters Y–Z and the Full Alphabet Review
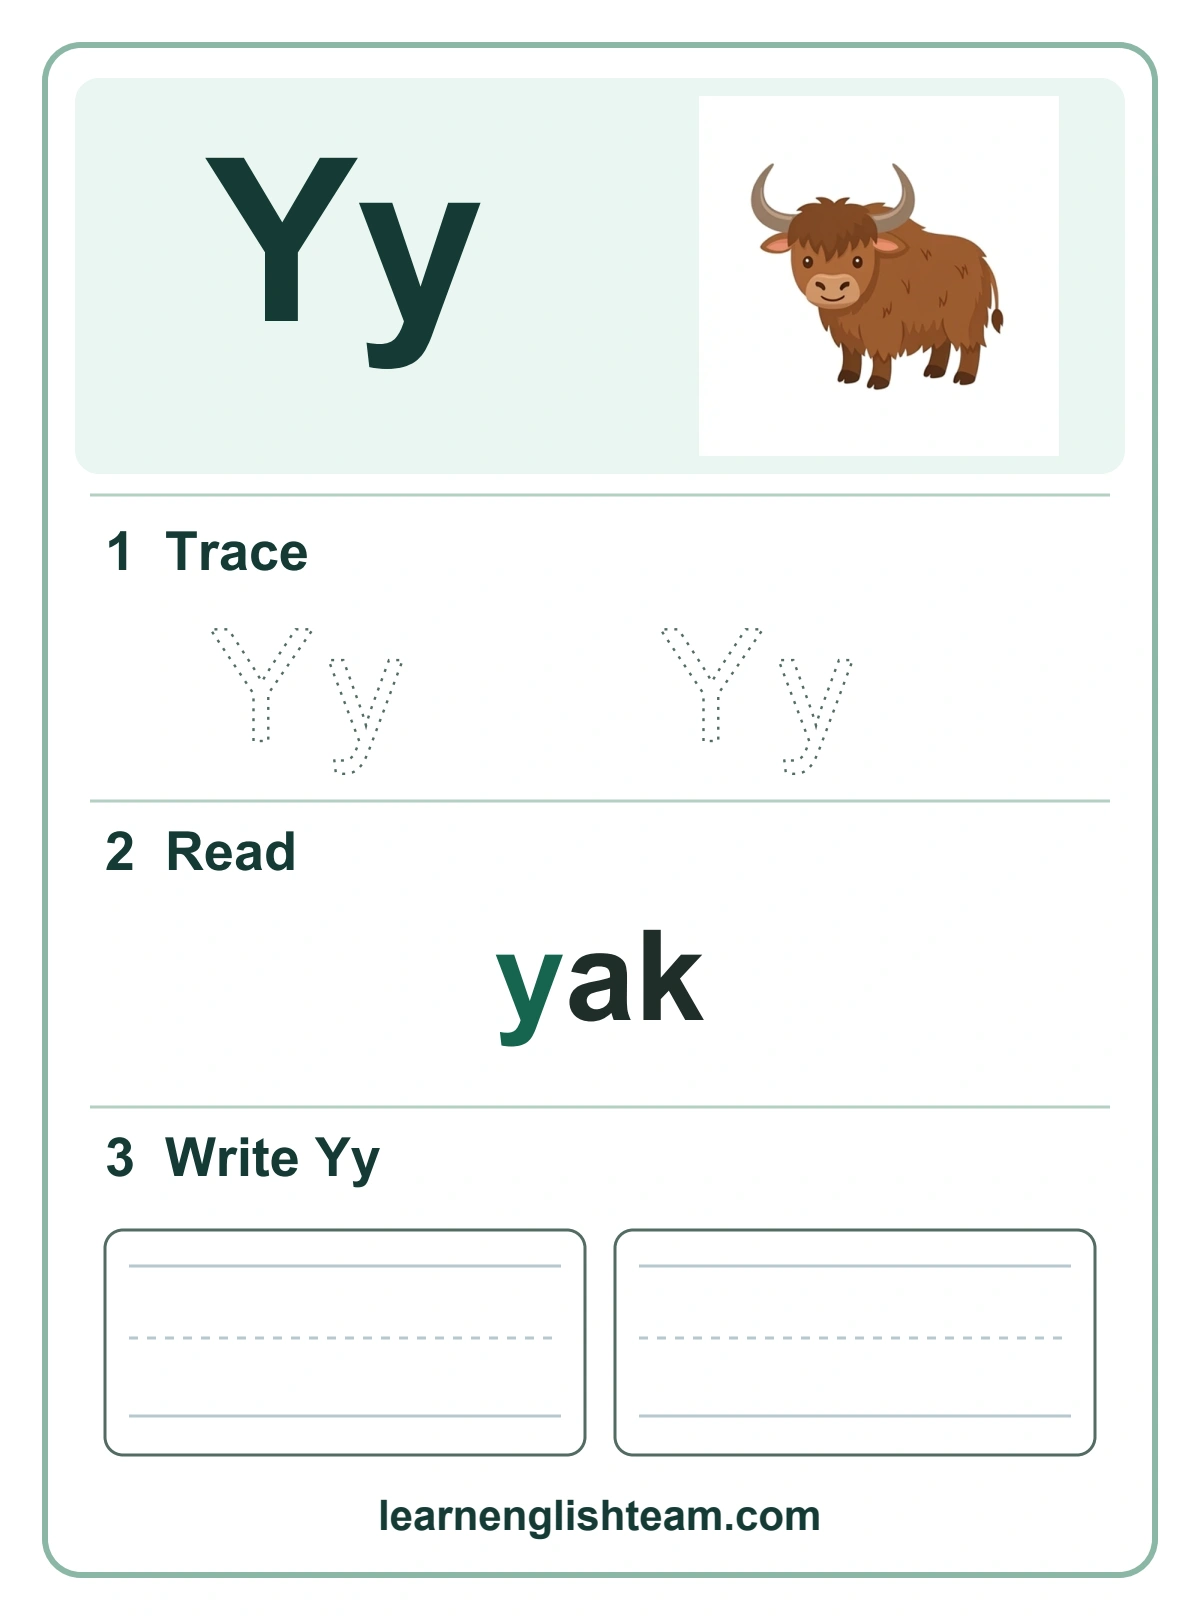
- Yy — yak (/y/): Uppercase: two short diagonals meet in the middle, then a line down. Lowercase: a short diagonal, then a long diagonal that goes below the line.
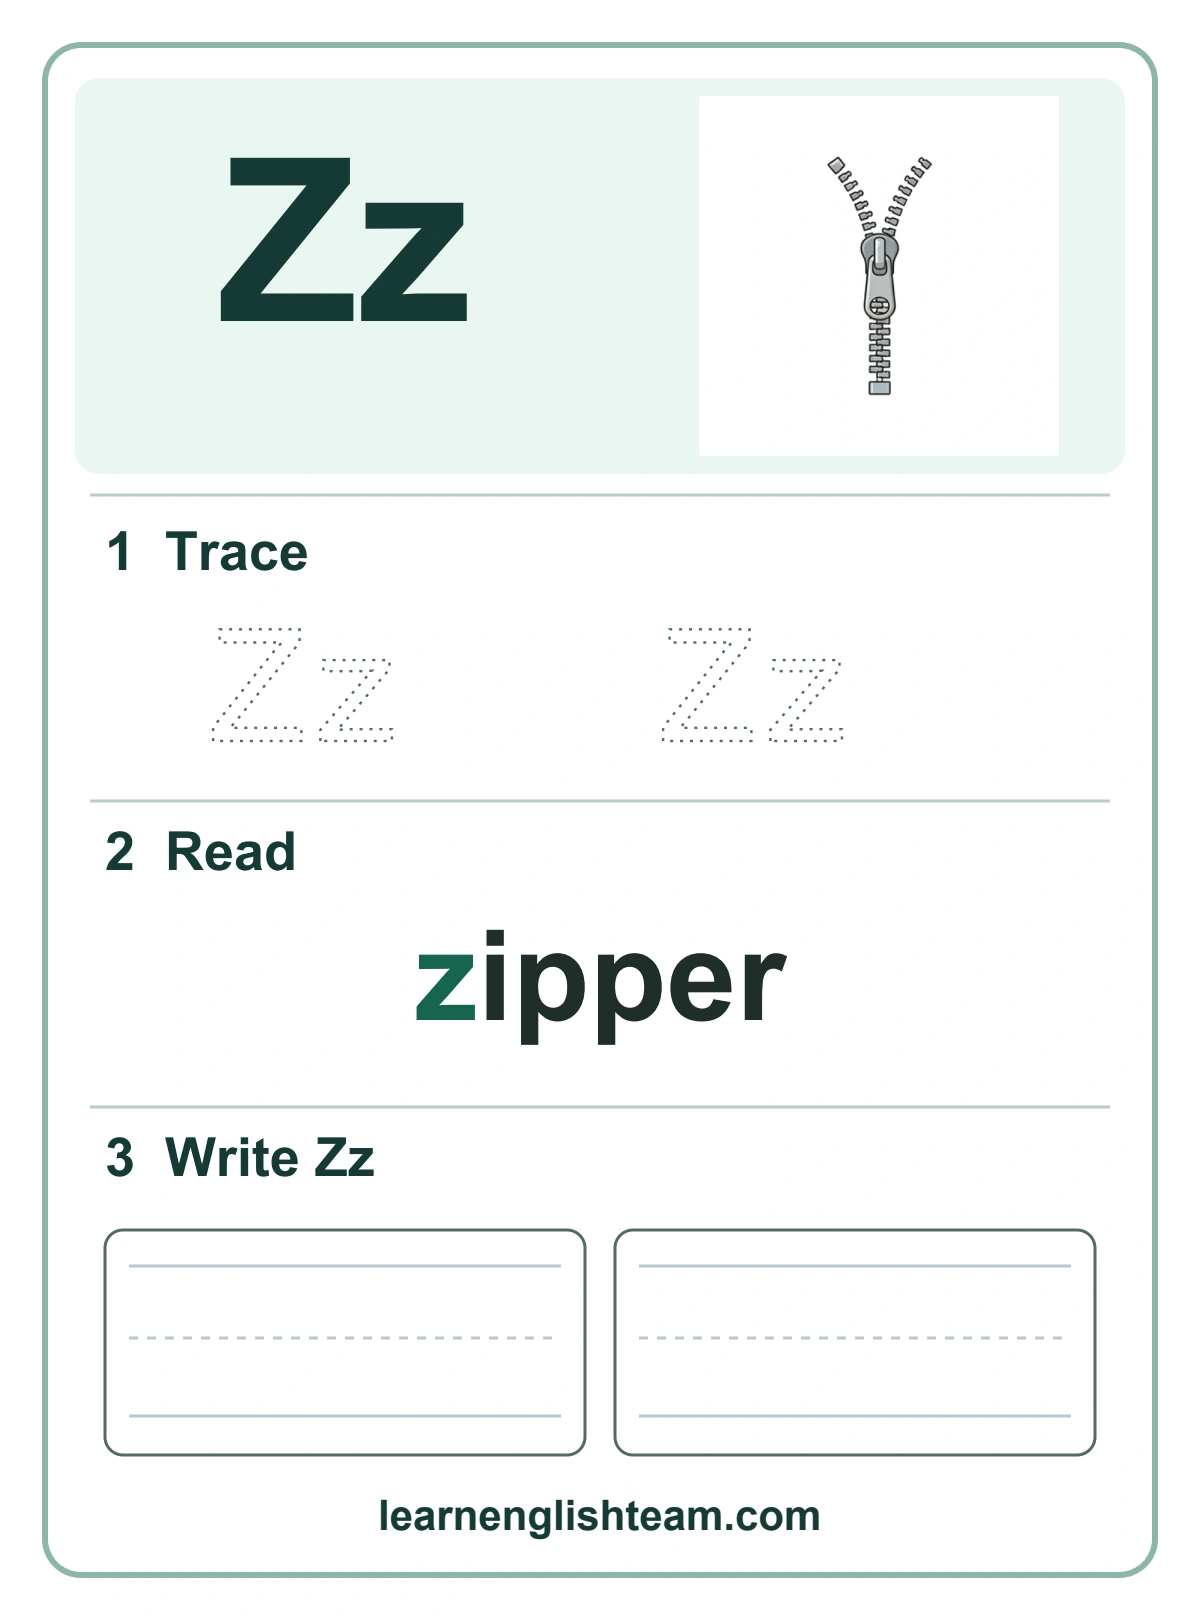
- Zz — zipper (/z/): Top line, diagonal down to the left, bottom line. Lowercase is the same, only smaller.
After Y and Z, the child has seen all 26 letters. Use the review grid to check progress: point to a letter at random and ask the child to say its name and sound. Any letter that causes a pause needs a little more practice.
Common Mistake: Many children mix up b and d, or p and q, and write some letters backwards at first. This is common at this age. Repeat the starting point and direction for each letter, and use the memory hints above (“bat, then ball”; d starts with a curve).
5 Practice Tasks After the Worksheets
Use one or two tasks per session and mix them up to keep practice fresh.
Task 1 — Trace and Say
The child traces a letter and says its name or the sound used in the picture word. Keep the movements slow and comfortable.
Task 2 — Find the Card
Spread a few flashcards on a table. Say a letter name and ask the child to point to its card. For another version, say the picture word instead.
Task 3 — Letter Hunt
Print a short sentence in large text and ask the child to circle every word that contains the target letter.
Example: Sentence: “The big bag is on the bed.” Target letter: b. Words to circle: big, bag, bed.
Task 4 — Free Write
Ask the child to write each letter three times in a row on blank paper, without the worksheet or dotted guide. This shows whether the child has learned the shape from memory. For Cc, check that the curve opens to the right and the letter sits on the line.
Task 5 — Draw and Label
The child draws the keyword object, for example a sun for S, and copies the word below the drawing. This connects writing to meaning.
Is Your Child Ready to Move On? Quick Progress Checklist
Before adding new letters, check whether the child can do most of these with the current letters:
- Say the letter name when you point to the letter.
- Say the sound, or the picture word, for the letter.
- Find the letter on a flashcard among three or four others.
- Trace the uppercase and lowercase forms starting in the right place.
- Write the letter from memory (Task 4).
If the child manages three or four of these, move on. If not, repeat the letter the next day. Repetition is how young children learn.
Parent and Teacher Guide
At Home
Sit beside your child so you can model sounds and stroke directions. Say the sound yourself first, then ask your child to copy you. Praise effort and careful letter shapes, not speed. Two to four new letters per session is enough. If your child is tired or frustrated, stop and come back later.
In the Classroom
Show a few cards and ask children to name the letters and pictures. For a matching game, say a letter and let a child choose its card. For an ordering game, help children arrange a small group of cards in alphabetical order.
A Suggested First Week
- Monday: Aa apple and Bb ball (Say, Trace, Read, Write for each).
- Tuesday: Review Aa and Bb with the flashcards, then add Cc cat and Dd duck.
- Wednesday: Review all four with a quick flashcard match game, then add Ee egg and Ff fish.
Looking for more beginner lessons? Browse our Basic English lessons and English vocabulary lists.
Printable Letter Tracing Pages: Download Letter by Letter
Each card below has a picture, dotted letters to trace, a word to read and ruled rows for writing. Click a letter to jump to its page, or click “Download” under any card to save it.
A B C D E F G H I J K L M N O P Q R S T U V W X Y Z
Letter A Tracing Worksheet — apple

Letter B Tracing Worksheet — ball

Letter C Tracing Worksheet — cat

Letter D Tracing Worksheet — duck

Letter E Tracing Worksheet — egg

Letter F Tracing Worksheet — fish

Letter G Tracing Worksheet — goat

Letter H Tracing Worksheet — hat

Letter I Tracing Worksheet — ink

Letter J Tracing Worksheet — jug

Letter K Tracing Worksheet — kite

Letter L Tracing Worksheet — leaf

Letter M Tracing Worksheet — map

Letter N Tracing Worksheet — net

Letter O Tracing Worksheet — ox

Letter P Tracing Worksheet — pen

Letter Q Tracing Worksheet — queen

Letter R Tracing Worksheet — ring

Letter S Tracing Worksheet — sun

Letter T Tracing Worksheet — tent

Letter U Tracing Worksheet — umbrella

Letter V Tracing Worksheet — van

Letter W Tracing Worksheet — web

Letter X Tracing Worksheet — box

Letter Y Tracing Worksheet — yak

Letter Z Tracing Worksheet — zipper

Download the Free Alphabet Tracing PDF
Choose the file that fits what you need:
- Download Alphabet Tracing Worksheets and Flashcards: A–Z (free PDF) — the complete set: parent and teacher guide, practice activities, 26 tracing worksheets and 26 cut-out flashcards.
- Download Alphabet Flashcards: A–Z (PDF) — only the 26 Trace, Read and Write cards, if you do not need the full set.
Terms of use: Free for personal, home and classroom use. Please do not sell the files or re-upload them on other websites. Share the link to this page instead.
Frequently Asked Questions
What age should a child start tracing letters?
Many children enjoy tracing letters with a finger or crayon from about age 3. Writing with a pencil usually becomes easier around ages 4 to 5, when hand control improves. Follow the child’s interest and stop when they get tired.
Should I teach uppercase or lowercase letters first?
Either works. Many teachers start with the uppercase letters in the child’s name because the shapes are simple, then add lowercase soon after, since most printed text is lowercase. These worksheets practice both on every page.
Should I teach letter names or letter sounds first?
Teach both together, one letter at a time. Say the letter name first, then the sound, as in the Say step above. The picture word helps the child connect the sound to something familiar.
How can I help a left-handed child?
Slightly tilting the paper clockwise and holding the pencil a little higher up can help a left-handed child see what they write. Show the same starting points and directions as for any child.
How many letters should we practice each day?
Two to four letters per session, for 10–15 minutes, is enough. Review yesterday’s letters before adding new ones.
Can I use these worksheets with adult English learners?
Yes. Adults who are learning the English alphabet for the first time can use the same Say, Trace, Read, Write routine. Skip the games if they feel too young and focus on the chart and tracing pages.